-
Shadow Colour for SketchUp®
-
- Articles coming soon
-
-
Shadow Colour for Autodesk® Revit®
-
- Articles coming soon
-
-
Planary for Autodesk® Revit®
-
Planary for Autodesk® AutoCAD®
-
Plan Match for Autodesk® Revit®
-
- Articles coming soon
-
-
Account Management
Multi-View Plans
In a case of multi-use or complex building ,we would prefer to draw filled regions in different floor plan views.
In this example, we sketched 3 different floor plans:

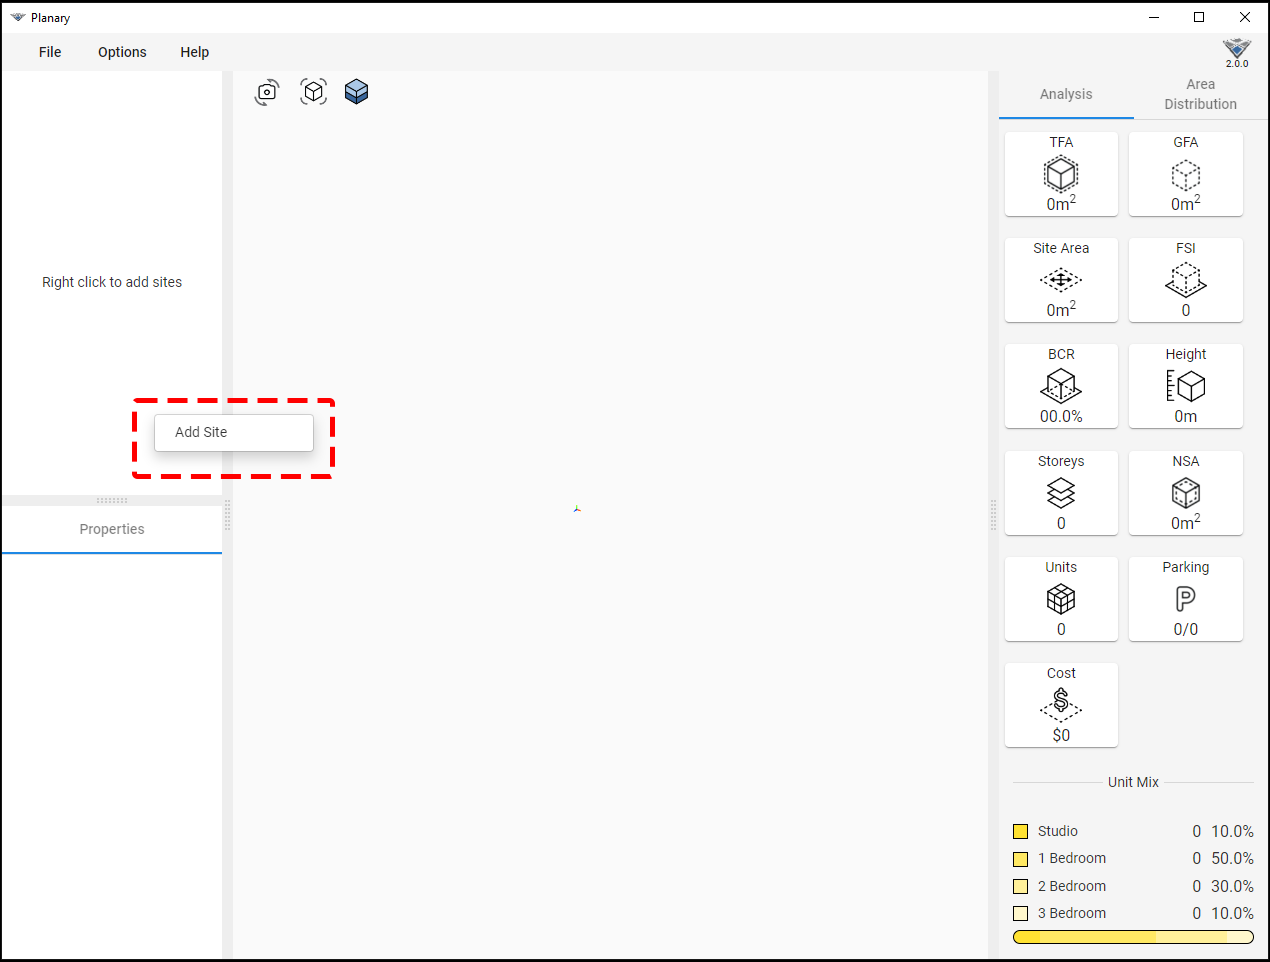
Add Site
1. Right-click on the browser window and click ‘Add Site’.
2. Pick a filled region from the Revit view.
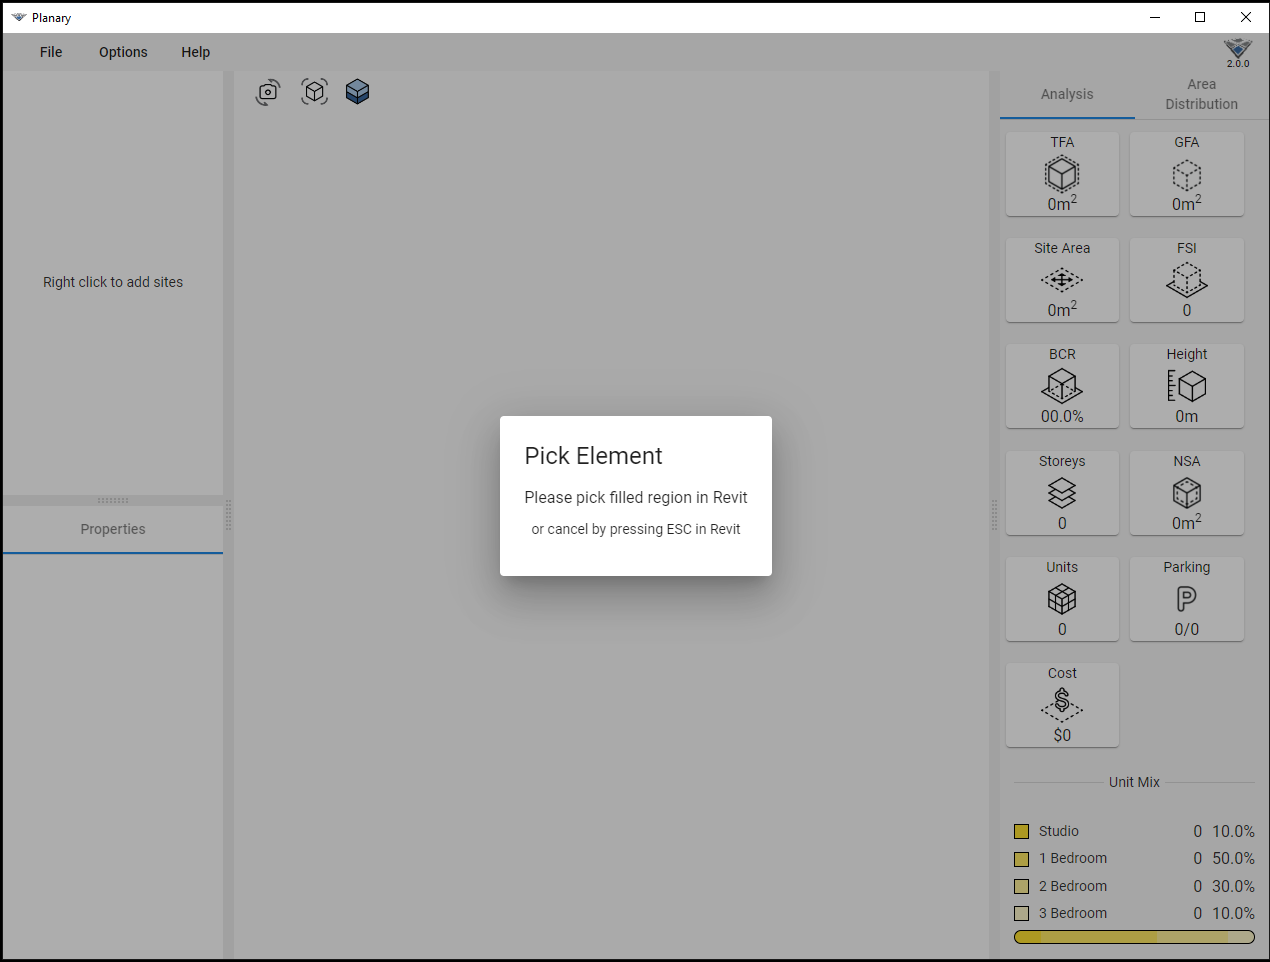
3. The filled region is linked to Planary as a ‘New Site’. You can edit the filled region in Revit at any time, and the site will be updated instantly.

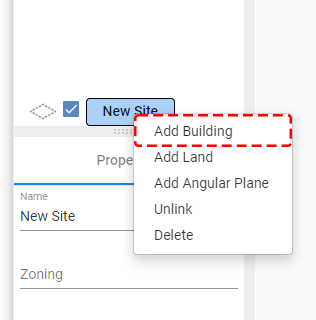
Add Building
4. To add a building go to Planary browser window → right-click on the site → ‘Add New Building’ (multiple buildings could be added to the site).
Add Ground Floor
The next step in creating a building is to add the filled regions from the ground floor view.
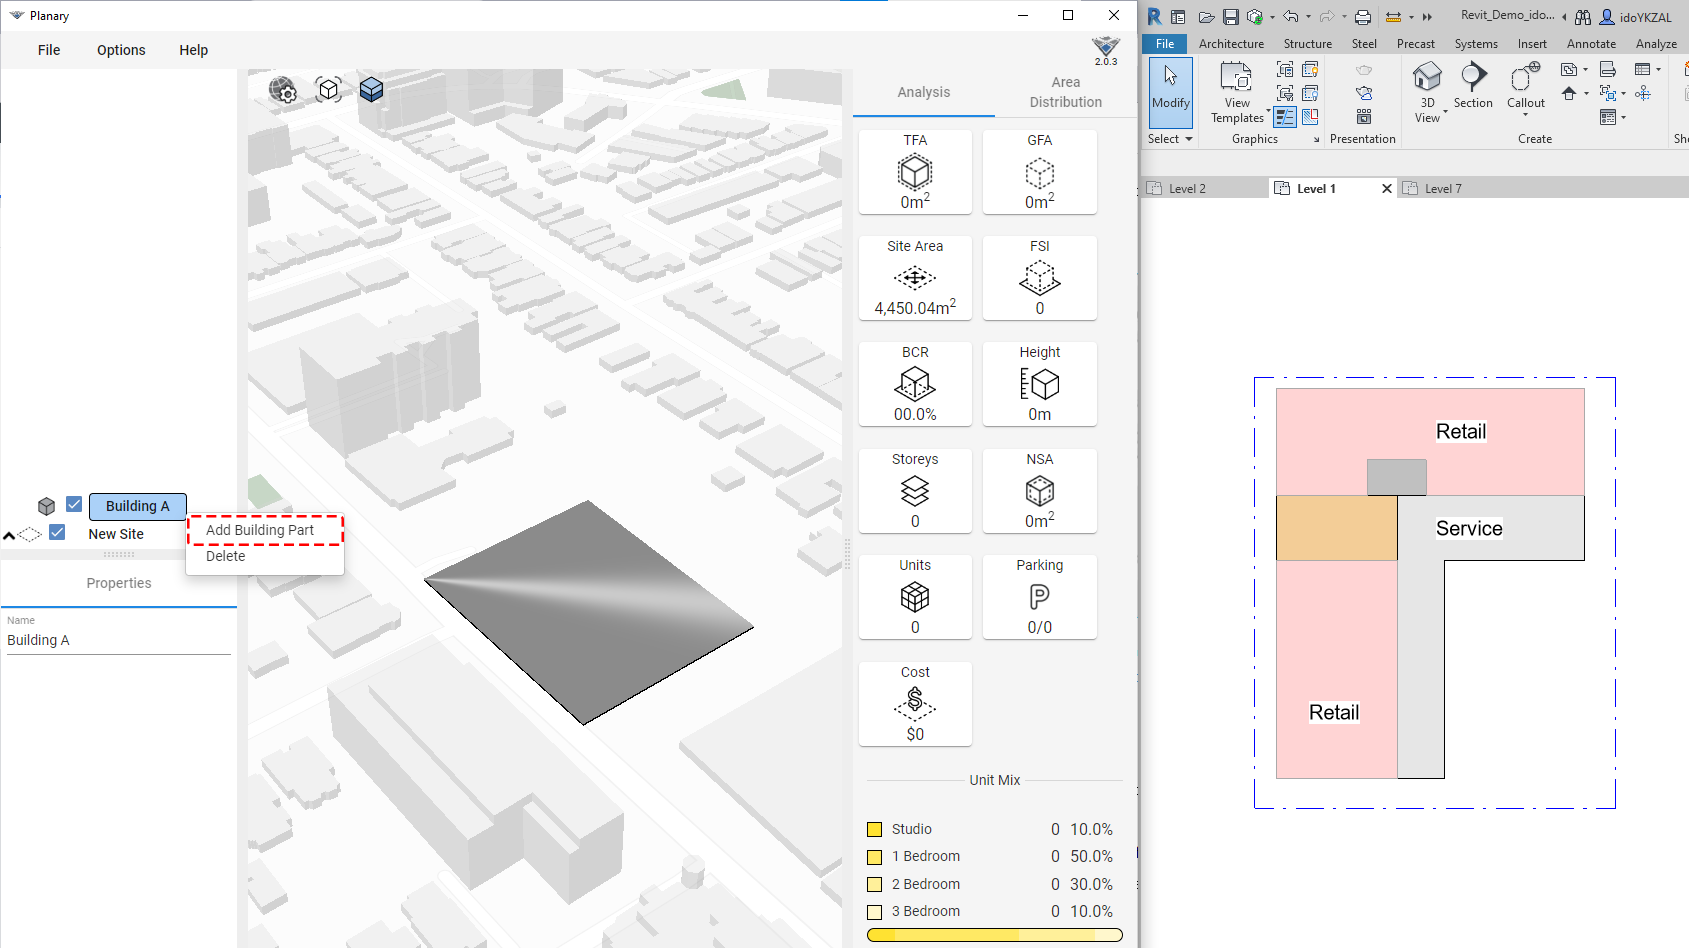
6. Go to the browser, right-click on your building, and select ‘Add Building Part’.
Go back to Revit and select any of the filled regions from the ground floor view.

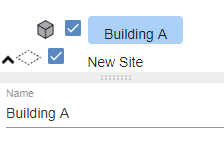
7. When a ‘Building Part’ is selected (select the element from the browser or the 3D view), go to the properties window and input the following parameters:
- Name
- Number of floors
- Floor height (measured from floor to floor)
- Use for that building part
- Building section: Type representation of building parts (tower, podium, etc)
- Use the check box to include or exclude from the GFA (Gross Floor Area)
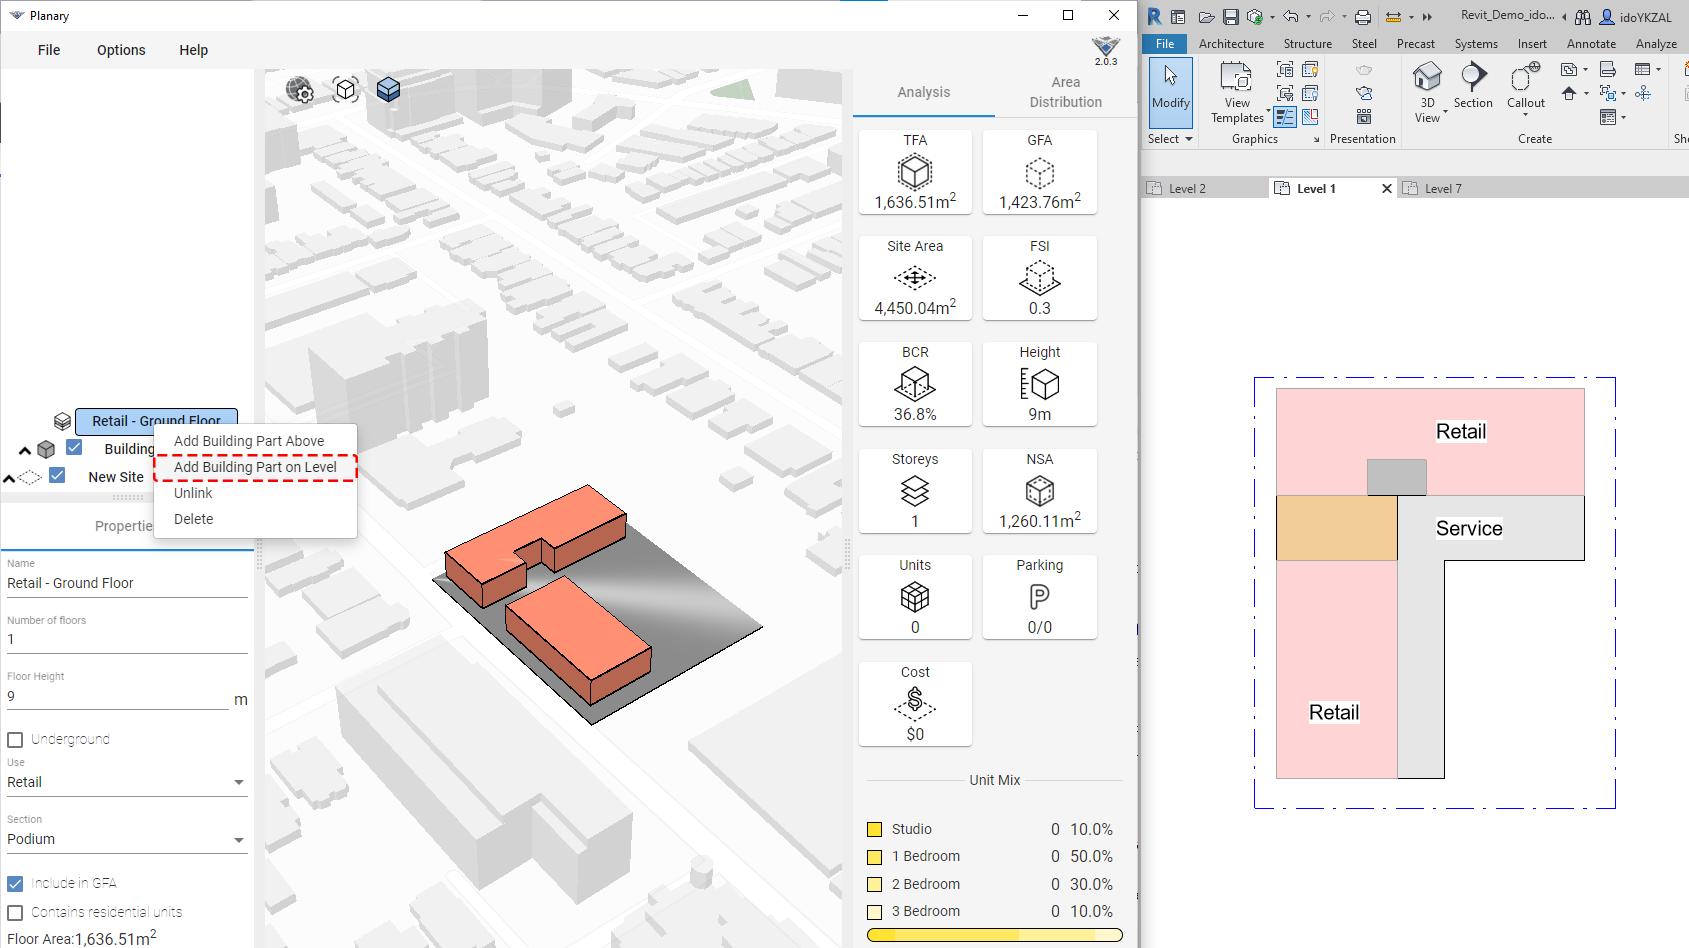
8. To add more uses to the same ground level, Right click on the building part → ‘Add Building Part on Level’ and pick filled regions from the ground level view.
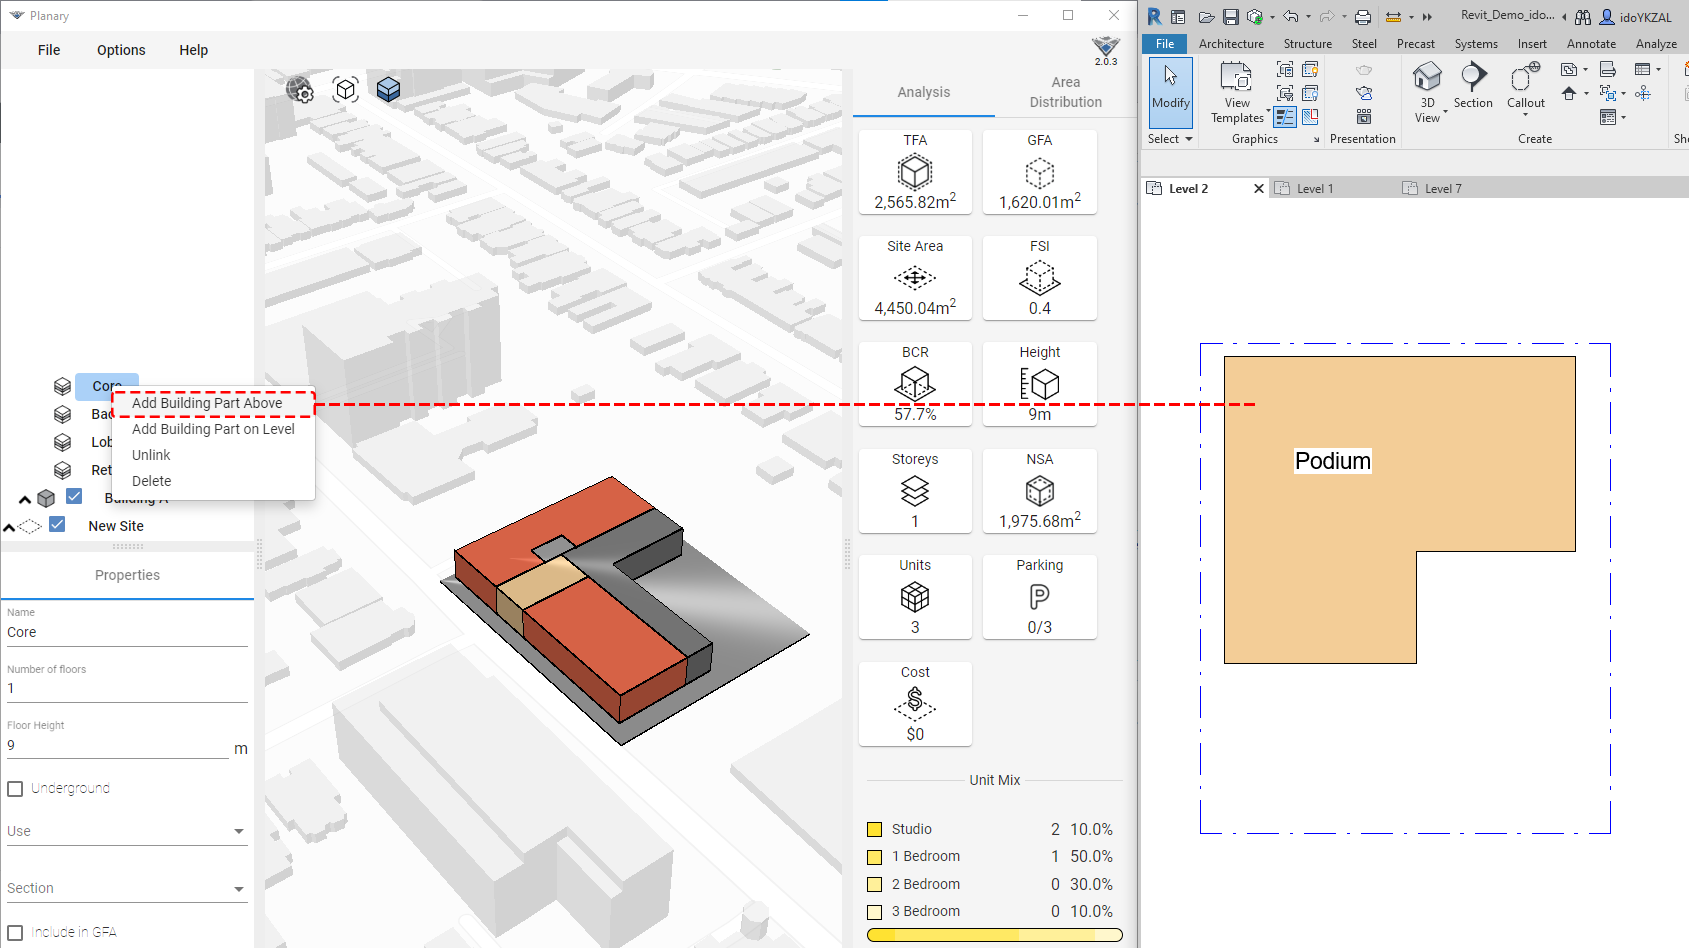
Add Podium
The next step is to add our podium and tower sections from the corresponding view plans.
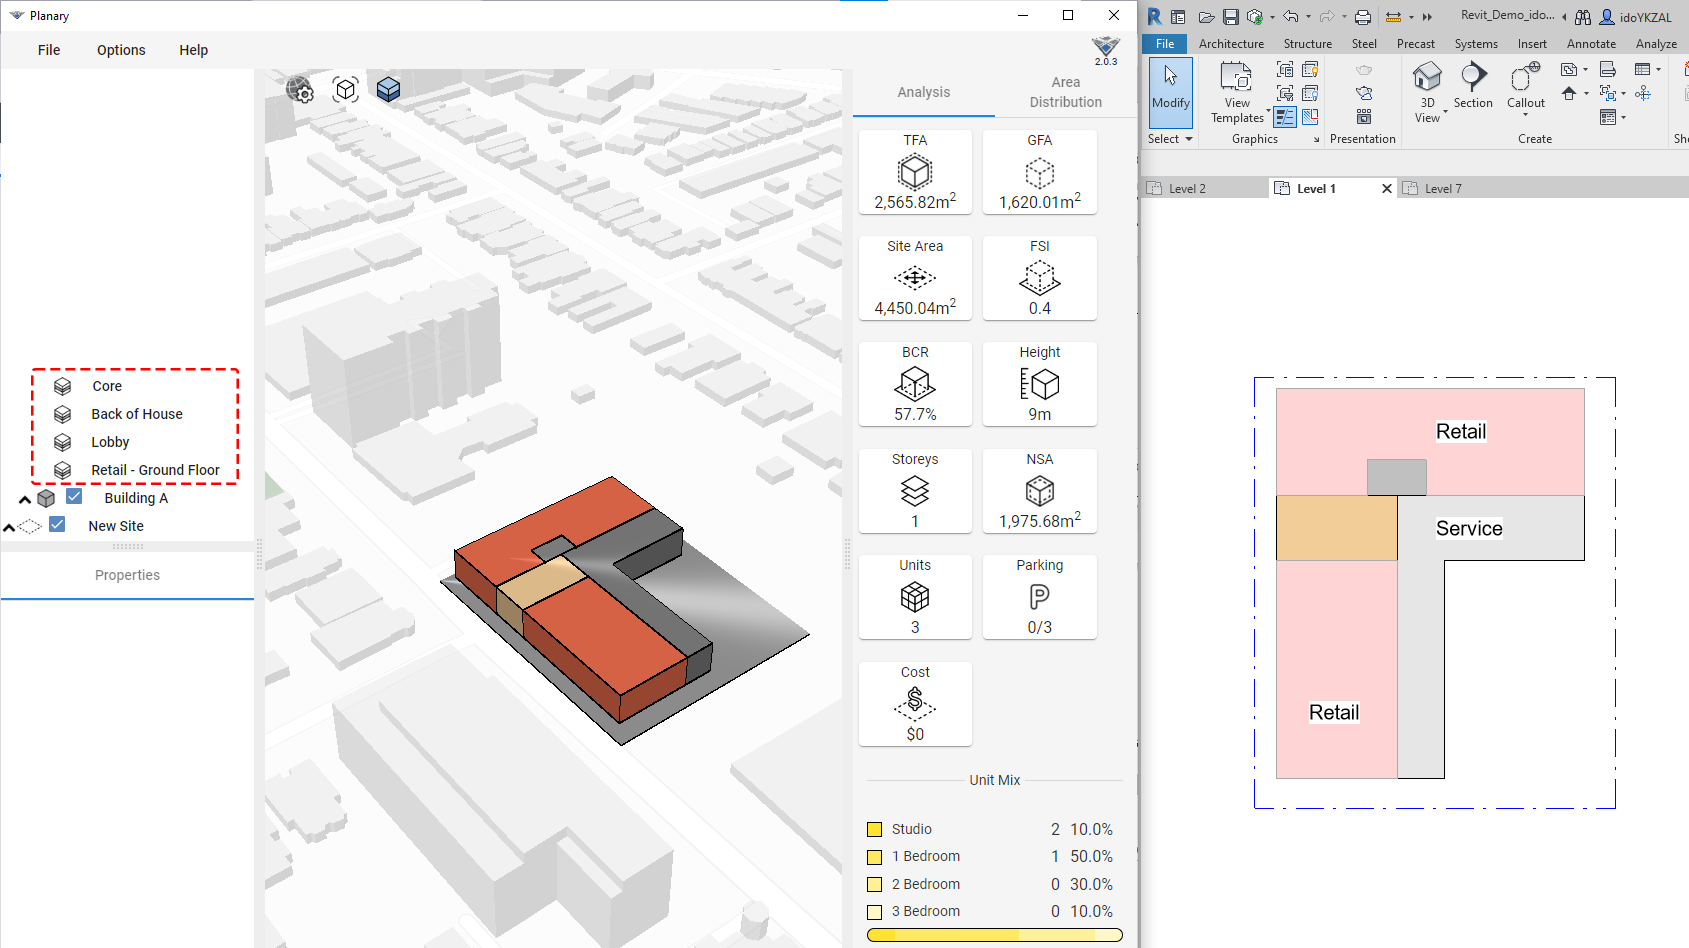
9. Right-click on any ground level building part → ‘Add Building Part Above’ and choose the filled region from the upper level
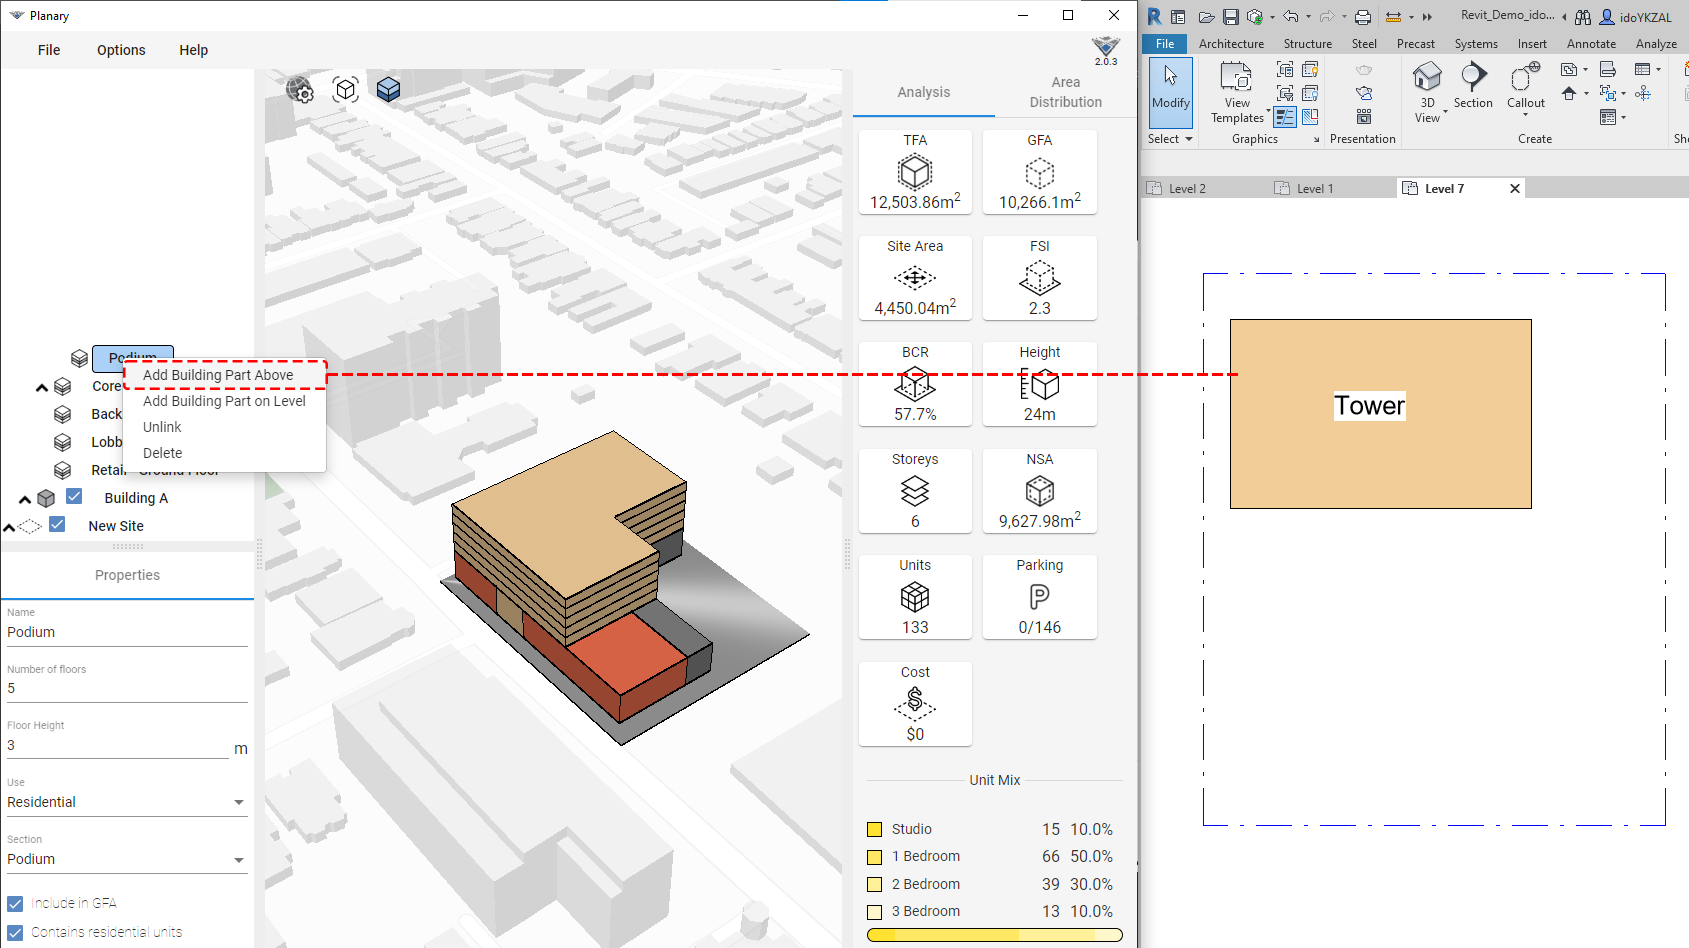
Add Tower
10. Right-click on the Podium and select building part → ‘Add Building Part Above’ and choose the filled region for the tower from the corresponding view.
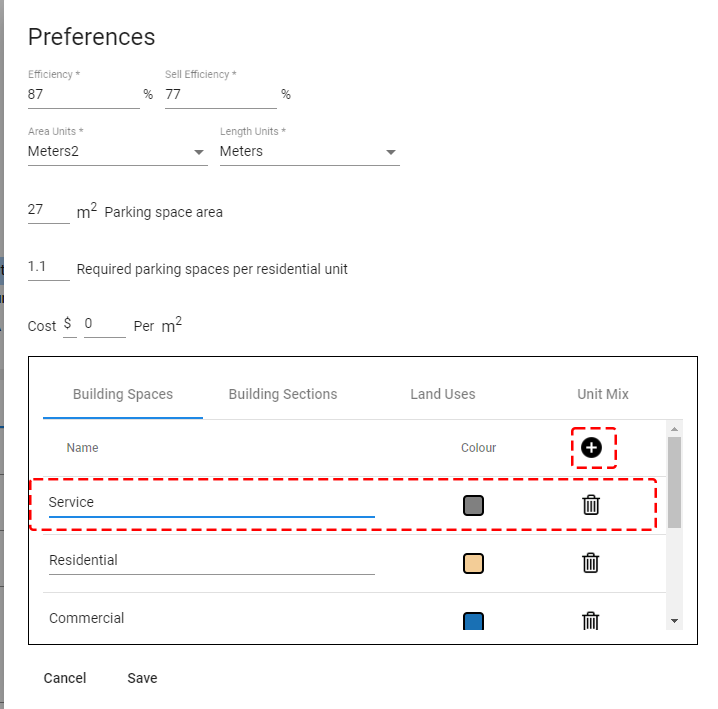
Add New Use
11. You can manage the project uses through Menu → ‘Options’ → ‘Preferences’.
In this example, we added a new use named ‘Service’
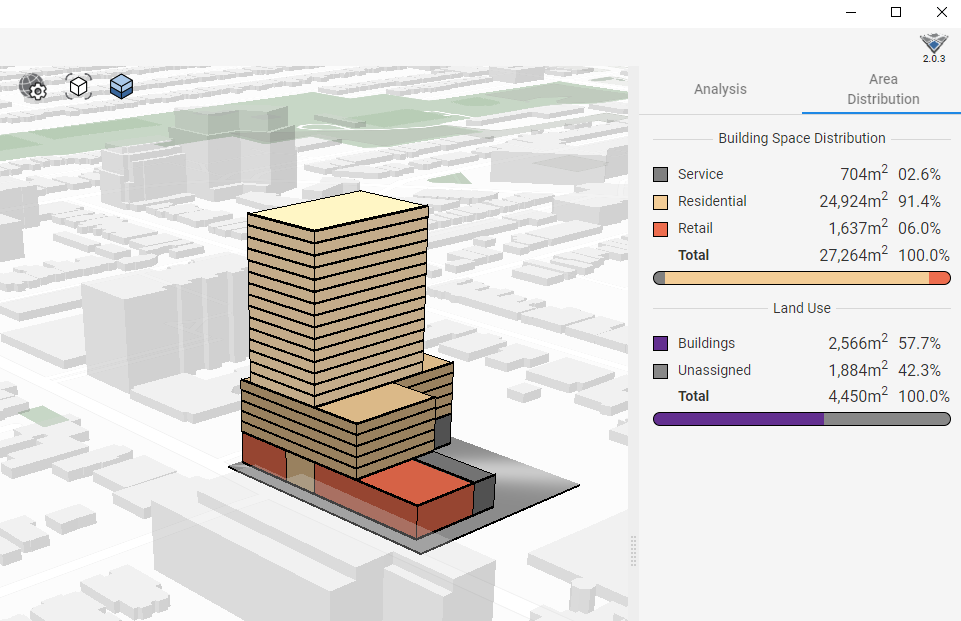
12. After assigning the ‘Service’ use to our building part – We can go to the ‘Area Distribution’ tab to review the use distribution of our project.
The analysis will be updated automatically as we work on our project.