-
Shadow Colour for SketchUp®
-
- Articles coming soon
-
-
Shadow Colour for Autodesk® Revit®
-
Planary for Autodesk® Revit®
-
Planary for Autodesk® AutoCAD®
-
Plan Match for Autodesk® Revit®
-
- Articles coming soon
-
-
Account Management
Plan Your Site
Add A Site
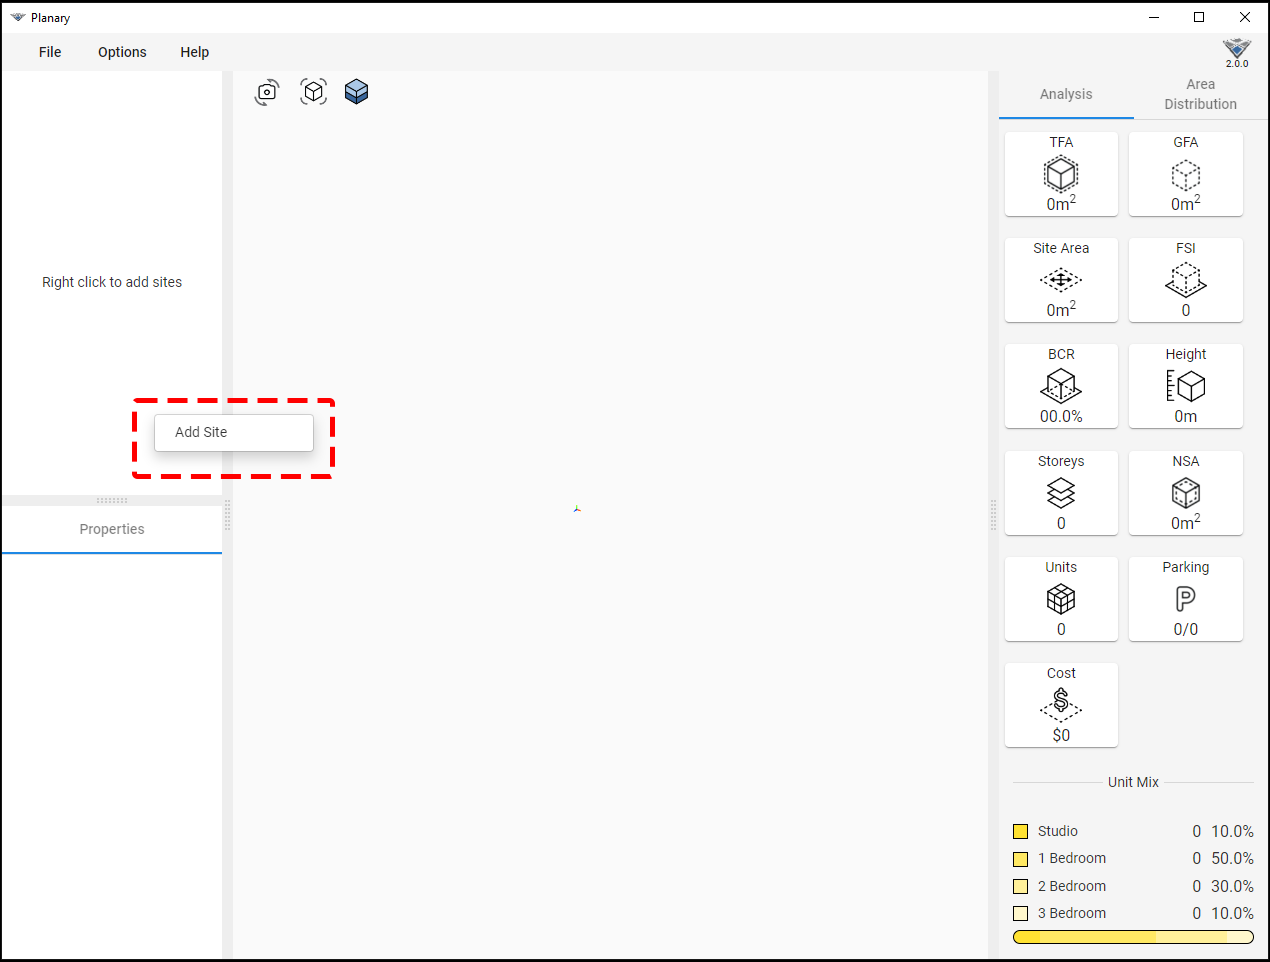
1. Right-click on the browser window and click ‘Add Site’.
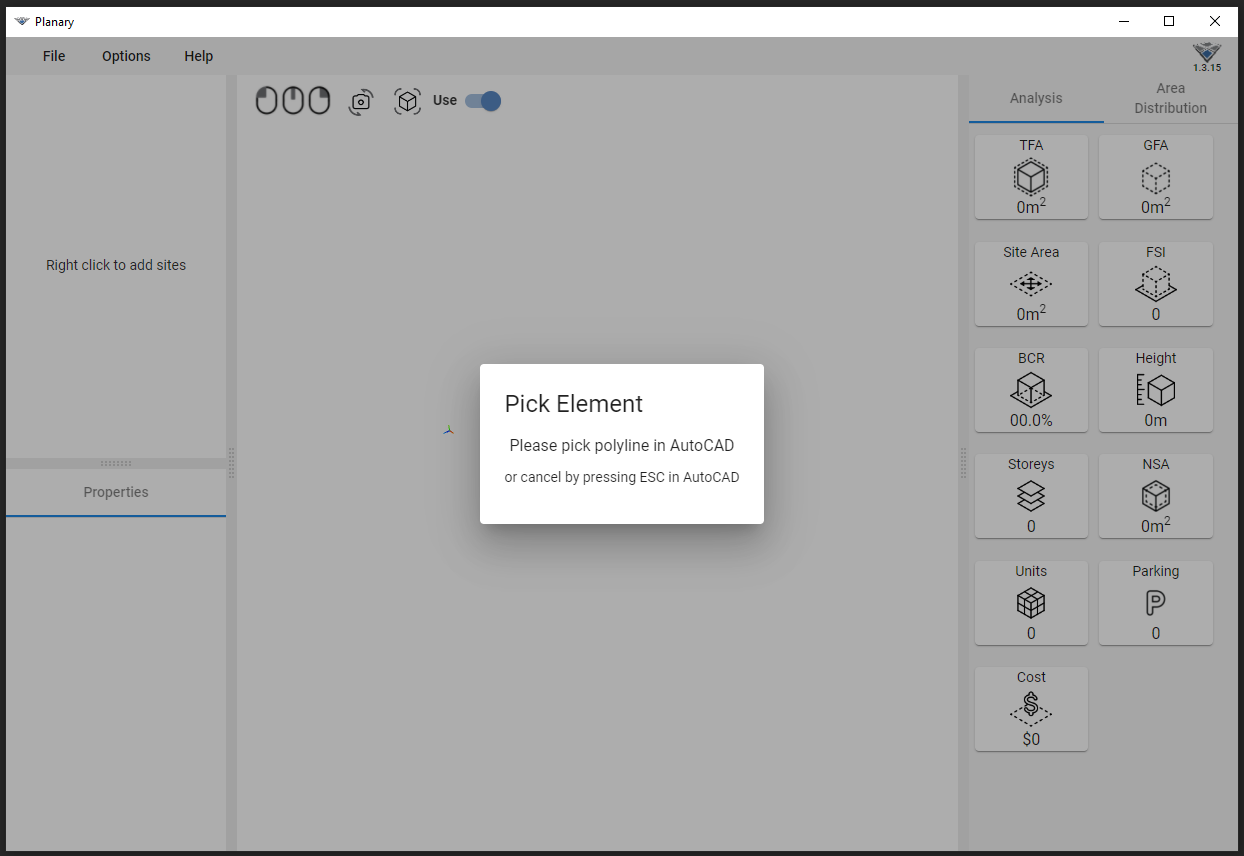
2. Pick a polyline or hatch from AutoCAD
3. The polyline/hatch is linked to Planary as a ‘New Site’. You can edit the polyline/hatch in AutoCAD at any time, and the site will be updated instantly.

4. By Selecting the site from the 3D view or the browser, you can input site information such as site name, zoning, ownership, and site description (optional) under the properties window.

Add Building
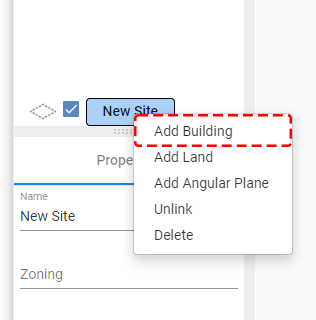
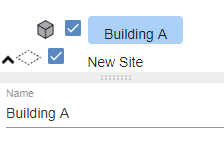
- To add a building go to Planary browser window → right-click on the site → ‘Add Building’ (multiple buildings could be added to the site).
Add Building Parts
The next step in creating a building is to add parts such as a podium or tower.
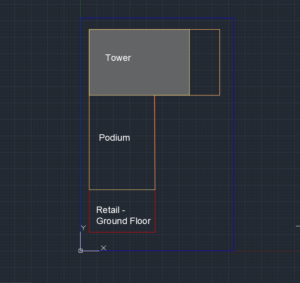
1. Sketch your building in AutoCAD using polylines or hatches.
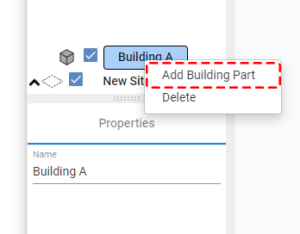
2. Go to the browser window, right-click on ‘Building’ → ‘Add Building Part’.
3. Pick the polyline/hatch from AutoCAD to create the first building part
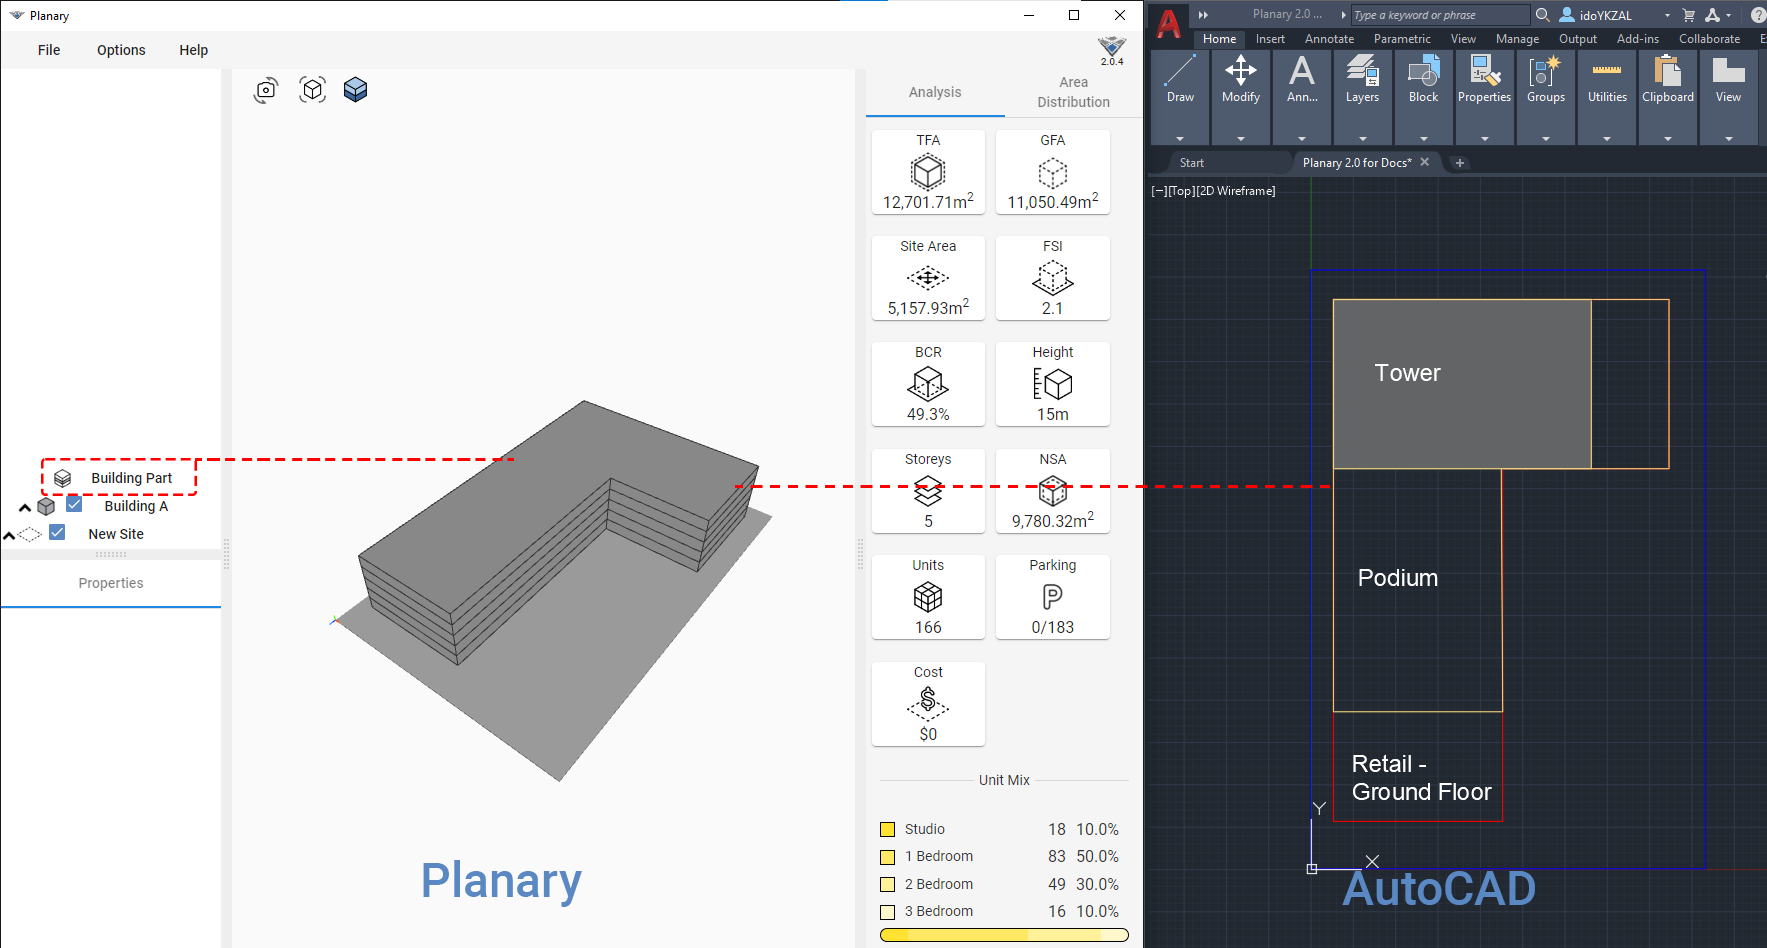
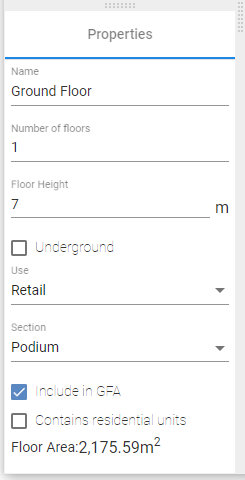
4. When a ‘Building Part’ is selected (select the element from the browser or the 3D view), go to the properties window and input the following parameters:
- Name
- Number of floors
- Floor height (measured from floor to floor)
- Use for that building part
- Building section: Type representation of building parts (tower, podium, etc)
- Use the check box to include or exclude from the GFA (Gross Floor Area)
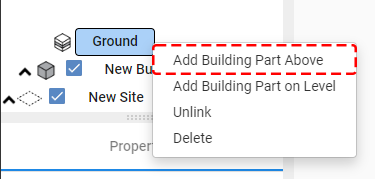
5. To add another building part above the previous one (stacked), go to the browser window, right-click on the building part → ‘Add Building Part Above’ and pick the corresponding filled region from the Revit view.
Changing Building Parts
To change the linked filled region of the Planary element:
1. Right-click on the element from the browser and select ‘Unlink’.

2. Right-click on the same element, select ‘Link’ and pick a different filled region from the Revit view.
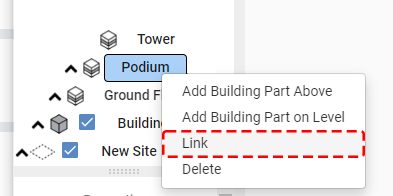
The new element will be linked and shown in Planary 3D view.
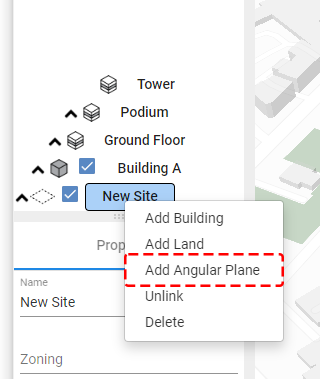
Add 3D Angular Plane
To add angular plan to the project:
1. Draw a detail line for the angular plane’s base.
2. Right-click the site in the browser window and select the detail line from the Revit view.
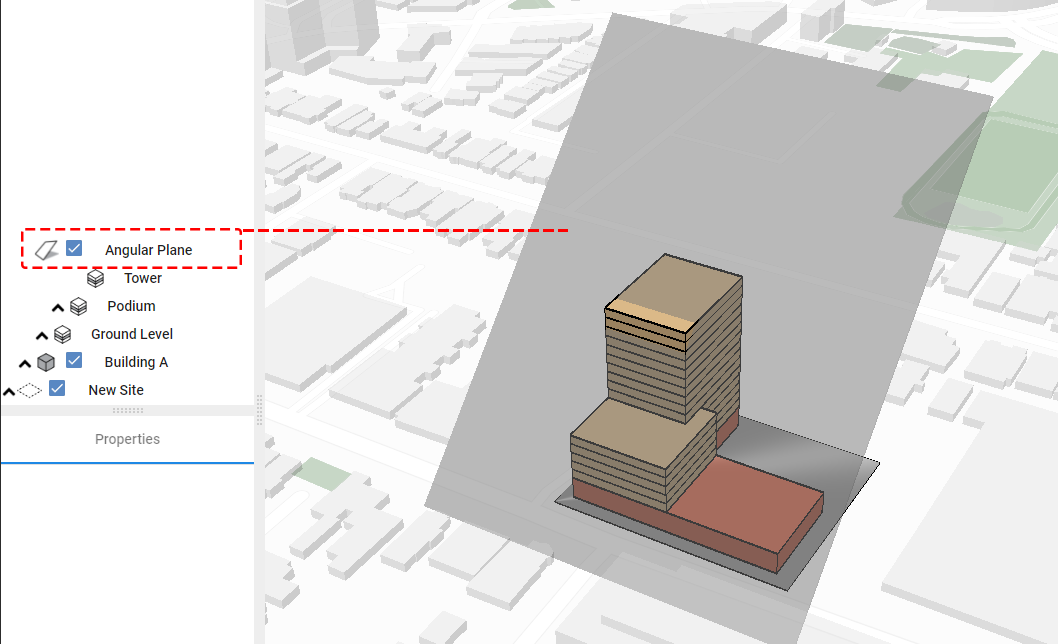
3. Under properties, you can change parameters such as name, surface thickness, length, angle, and offset from the ground.
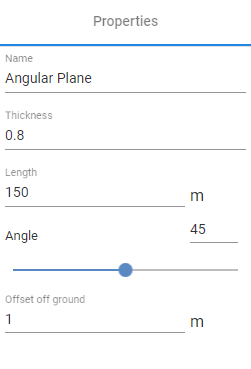
*Angular Plane object can not be exported into Revit
We’ve just created a basic study with one building in Planary using only filled regions.
Continue to the next article to understand how to read the analysis and statistics of your study.