Knowledge Base
-
Shadow Colour for SketchUp®
-
Shadow Colour for Autodesk® Revit®
-
Planary for Autodesk® Revit®
-
Planary for Autodesk® AutoCAD®
-
Plan Match for Autodesk® Revit®
-
- Articles coming soon
-
-
Account Management
-
Changelog
Installation
Supported Versions
Planary supports Autodesk® Revit® versions 2017-2024
Installation
The installation process is the same as any software windows installation.
1. Make sure Revit is closed.
2. Double click on the installer file.
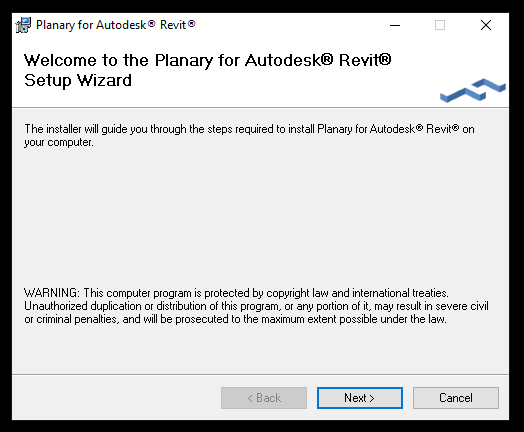
3. Click ‘Next’ in the welcome screen.
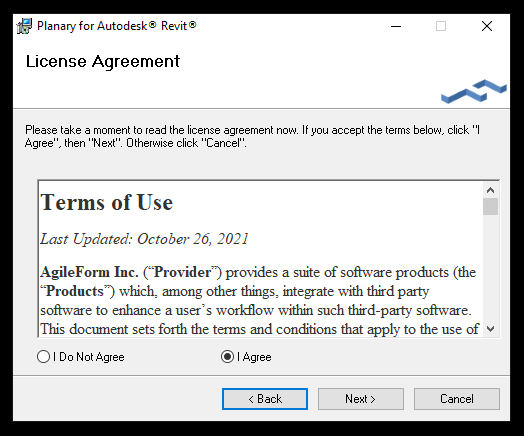
4. Check ‘I Agree’ for the terms of use and click ‘Next’.
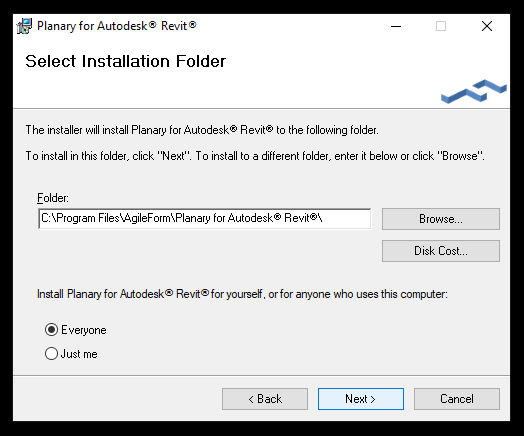
5. Select installation folder and click ‘Next’.
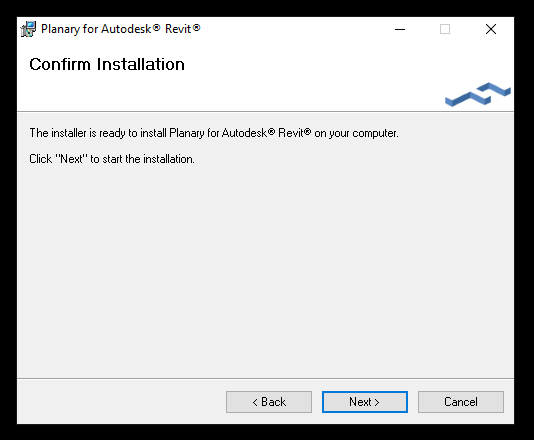
6. Click ‘Next’ to confirm installation.
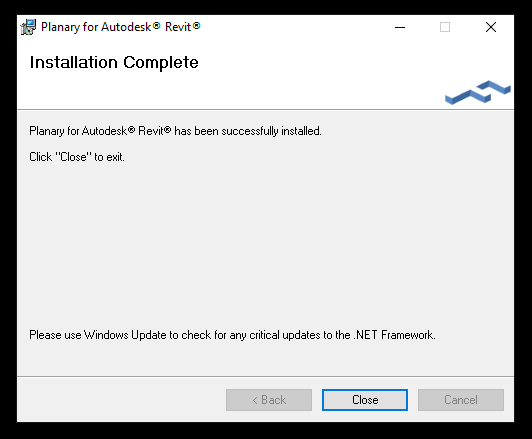
7. Installation complete.
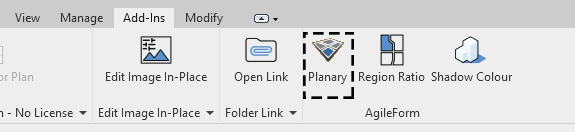
8. In Revit, you can find Planary under the Add-Ins tab.
When launching the software for the first time, you will be prompted with an activation window.
Press ‘I want a trial’ to register and get a trial key.
You can learn more about registration and managing your account here
Table of Contents