-
Shadow Colour for SketchUp®
-
Shadow Colour for Autodesk® Revit®
-
Planary for Autodesk® Revit®
-
Planary for Autodesk® AutoCAD®
-
Plan Match for Autodesk® Revit®
-
- Articles coming soon
-
-
Account Management
Save, Open and Export Project
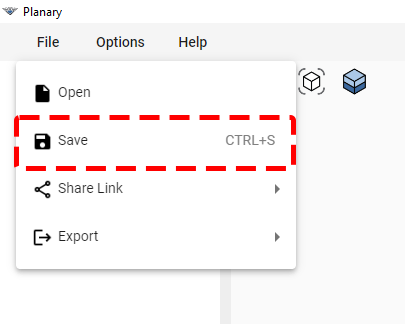
You may save your Planary project at anytime to avoid losing your work.
Save Project
Go to ‘File’ → ‘Save’ and select a location from the windows browser.
Open Project
1. Go to ‘File’ → ‘Open’ and select a location from the windows browser.

2. Select a Planary file (plny file).
Planary will find the same filled regions that were used for the feasibility study and link them. If Revit can not find the corresponding filled regions, an icon will be shown next to the Planary element.
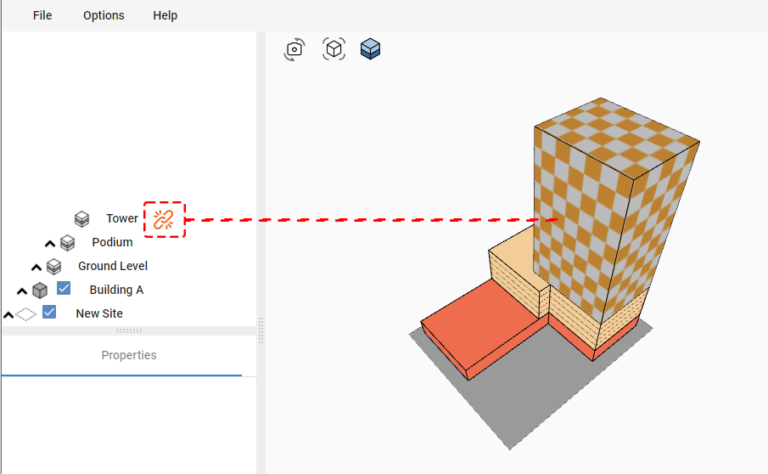
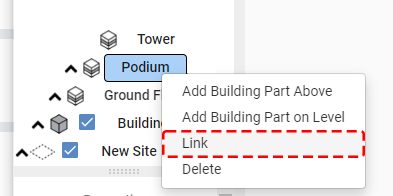
To re-link the element to a filled region, right-click on the element and select the filled region from the Revit view.
Export
Go to ‘File’ → ‘Export’ and select the type of file you wish to export.
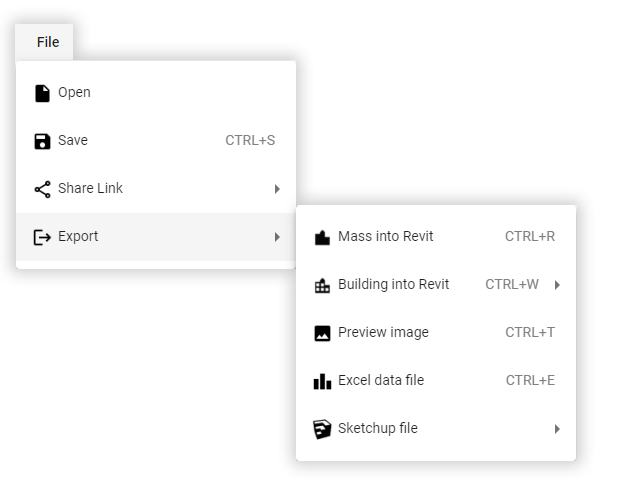
Mass into Revit – You’ll be prompted with a window to choose name for the mass as well as level. Planary will generate a new Revit massing at the same position as the filled regions.
Preview Image – Export the 3D view as an image file.
Excel data file – Export the statistics of your study as an Excel file.