-
Shadow Colour for SketchUp®
-
Shadow Colour for Autodesk® Revit®
-
Planary for Autodesk® Revit®
-
- Articles coming soon
-
-
Planary for Autodesk® AutoCAD®
-
- Articles coming soon
-
-
Plan Match for Autodesk® Revit®
-
- Articles coming soon
-
-
Account Management
-
Changelog
Get Started
Planary is a Revit extension that leverages 2D drawing tools such as filled regions, lines, and property lines to generate massing and analytics. This guide outlines a specific workflow for creating a feasibility study with Planary. However, Planary is a dynamic tool designed to fit various workflows.
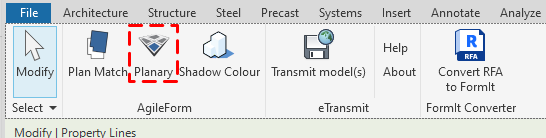
Launch Planary
Click Add-Ins tab → Planary.
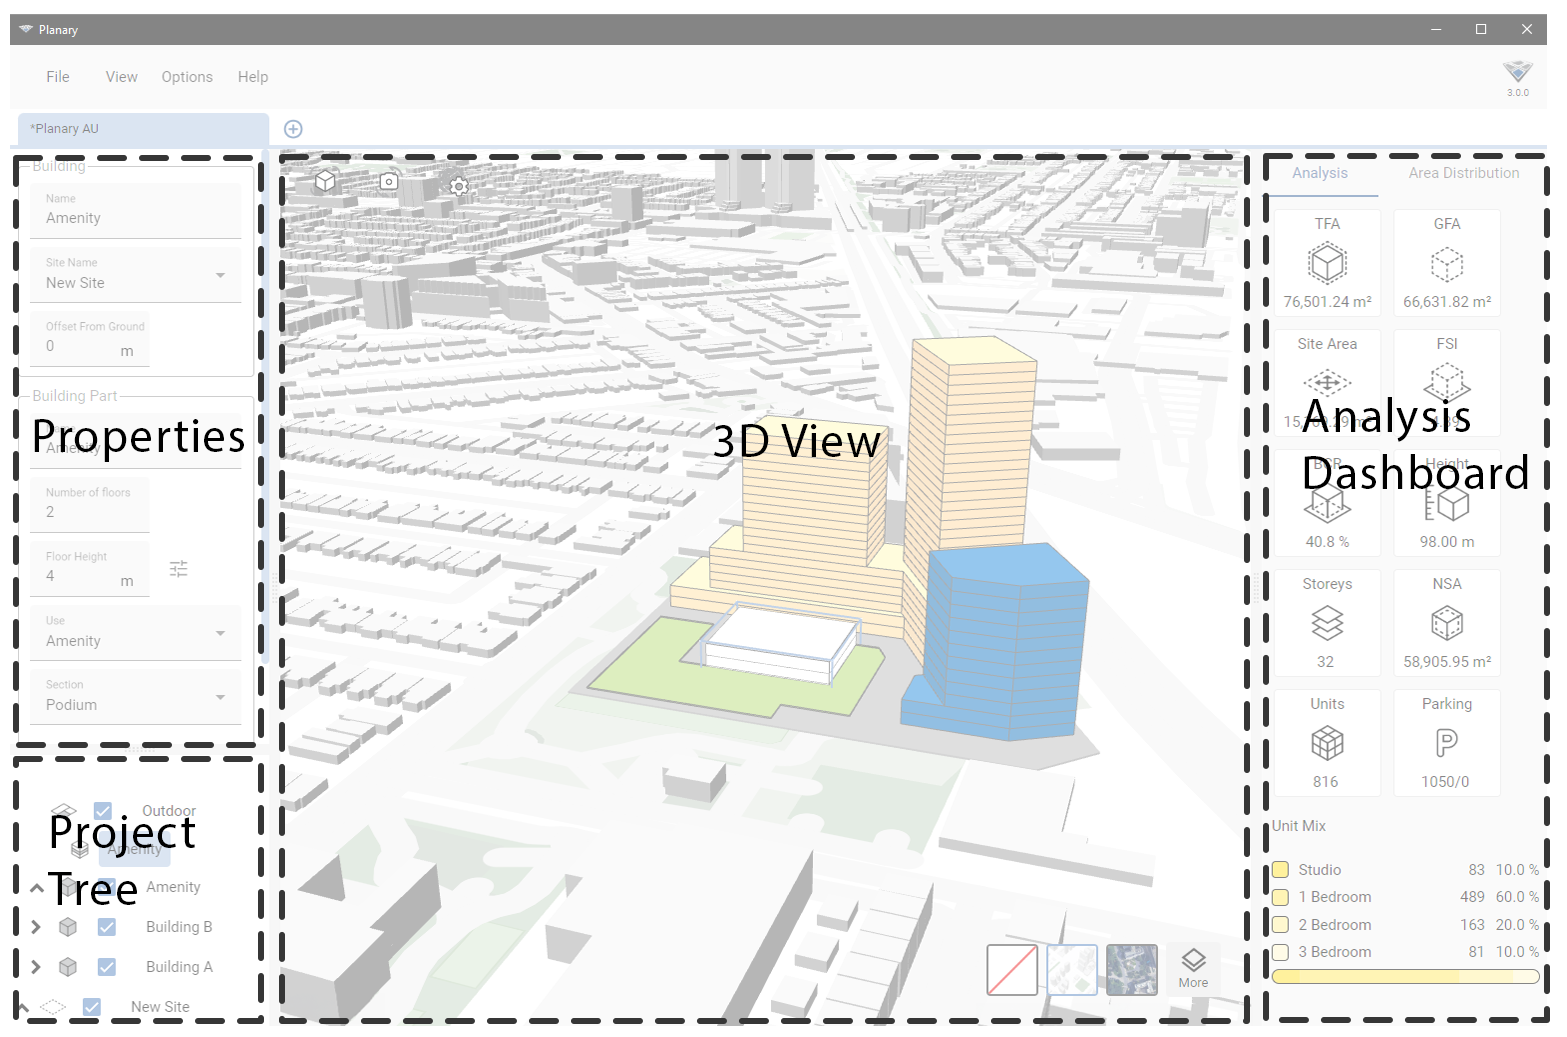
Planary Interface
Project Tree – Shows the hierarchy of your buildings and sites.
Properties – Modify an object’s parameters.
3D View – Preview of the project in 3D, including map layers.
Analysis Dashboard – Displays statistics of your study in real-time.
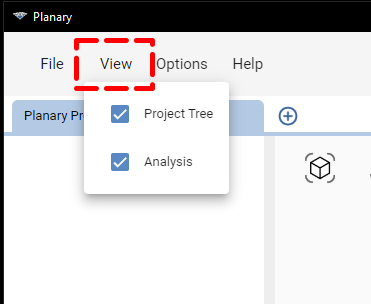
Customize The Interface
To hide the analysis dashboard or the project tree from the interface:
- Navigate to the ‘View’ menu on the toolbar.
- Find the window you wish to hide and uncheck its corresponding option.
Planary Objects:
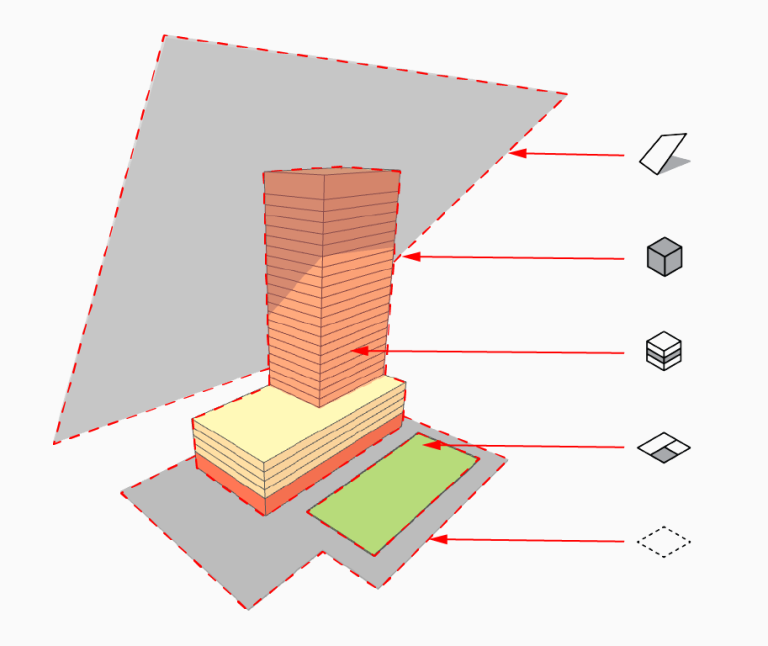
Site: The site contains ‘Buildings’, ‘Lands’ and ‘Angular Planes’. In Planary, you can add multiple sites by right-clicking in the 3D view or the project tree

Building: Represents a structure and contains ‘Building Parts’.

Building Part: An entity represents a part of a building, such as a tower, podium, typical floor, etc.

Land: Represents a land use.

Angular Plane: A projected surface at a specific angle, used as a constraint tool for controlling building height.

We now have a basic understanding of the Planary objects and interface.
Let’s go to the next article and plan our site!