-
Shadow Colour for SketchUp®
-
Shadow Colour for Autodesk® Revit®
-
Planary for Autodesk® Revit®
-
Planary for Autodesk® AutoCAD®
-
Plan Match for Autodesk® Revit®
-
- Articles coming soon
-
-
Account Management
Project Preferences
Project preferences in Planary enable you to tailor and manage settings for building space usage and analytics formulas for aspects like Gross Floor Area (GFA), Net Sellable Area (NSA), building efficiency, unit mix, parking, and more.
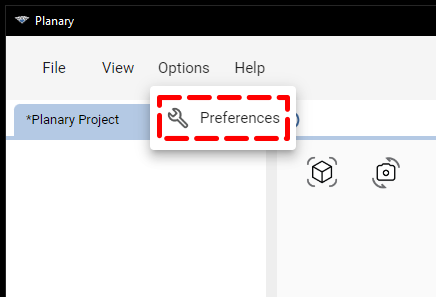
Accessing Preferences
Navigate to the preferences window by selecting ‘Options’ → ‘Preferences’ from the menu bar.
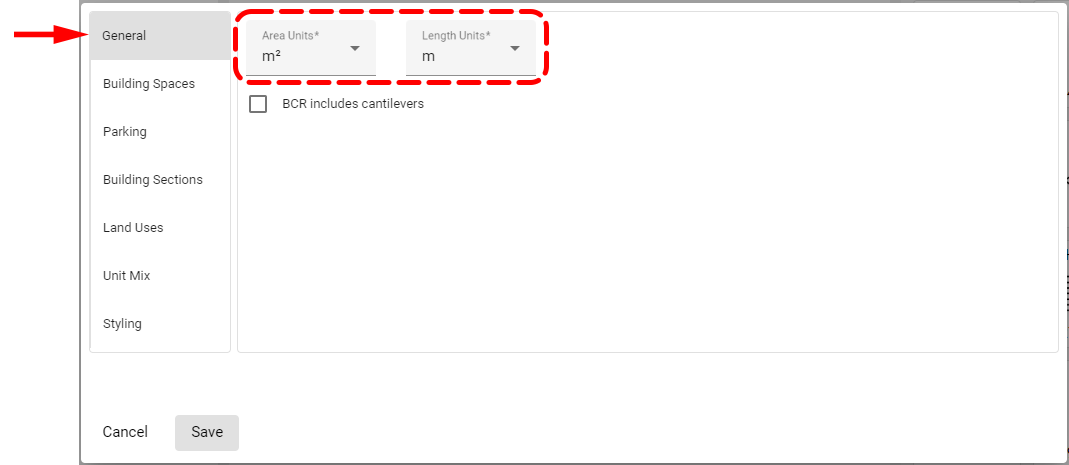
General - Project Units
Adjust the area and length of units for your project. By default, Planary uses the unit settings from the linked Revit project.
General - BCR Include Cantilevers (from version 3.1)
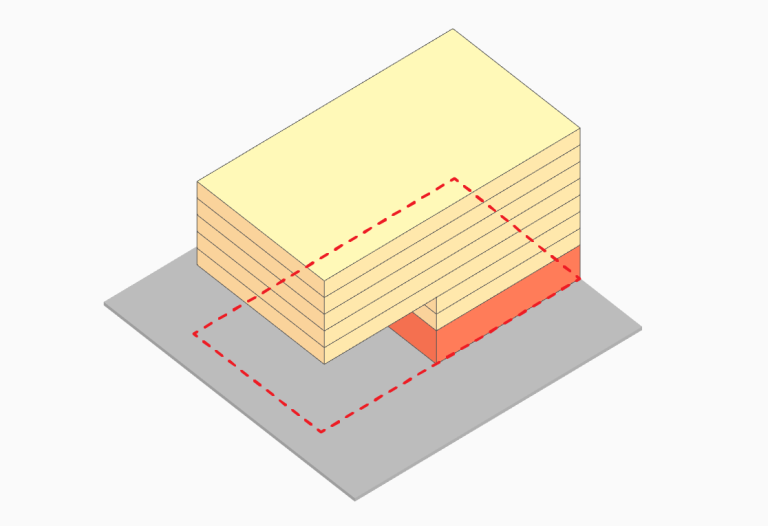
To include cantilevered elements in the BCR (Building Coverage Ratio), check the ‘BCR include cantilevers’ check box.
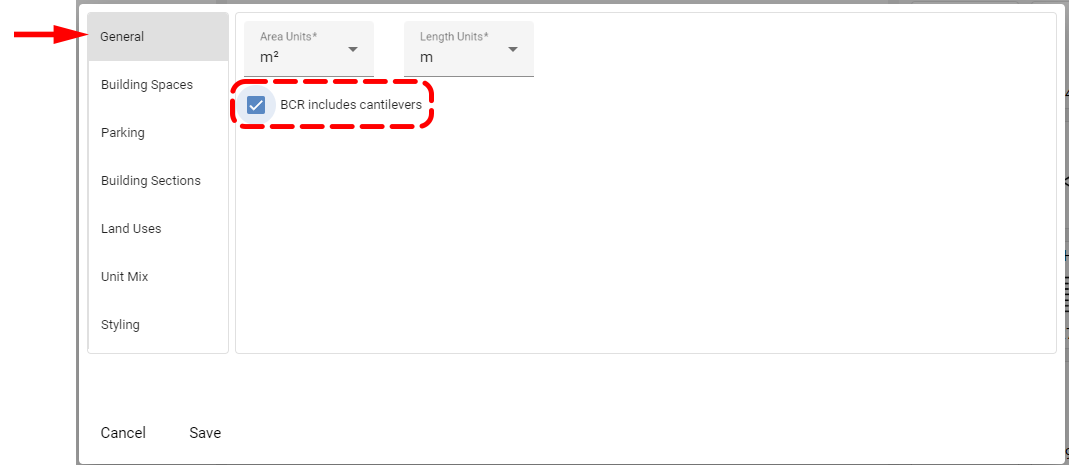
A cantilever is a structural element that is anchored at only one end, with the other end extending horizontally and unsupported.
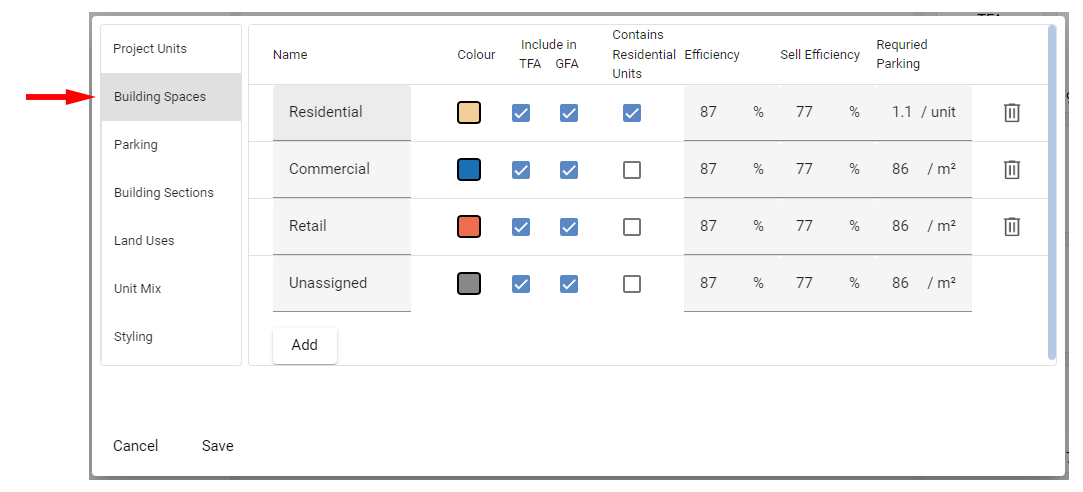
Building spaces (Usage)
Here, you can add and customize building spaces, modify names, colours, and settings for usage. Including whether an area is included in Total Floor Area (TFA) and Gross Floor Area (GFA) and if it contains residential units.
Formulas for Key Metrics:
- GFA = TFA x efficiency
- NSA = TFA x sell efficiency
Parking
Customize parking space settings, including names, colours, and ratios.

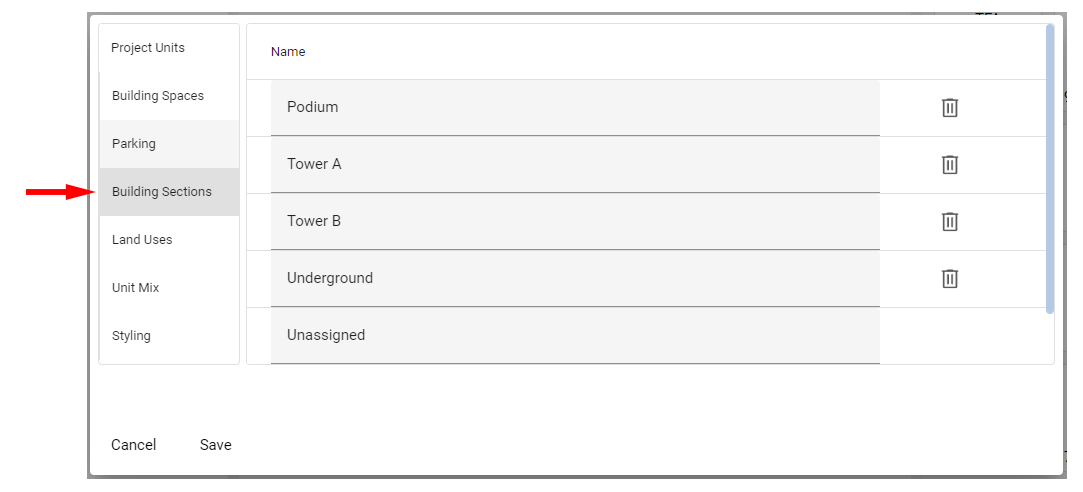
Building Sections
Categorize building sections (e.g., Podium, Tower).
Useful to keep the analytics organized when exporting an Excel data file.
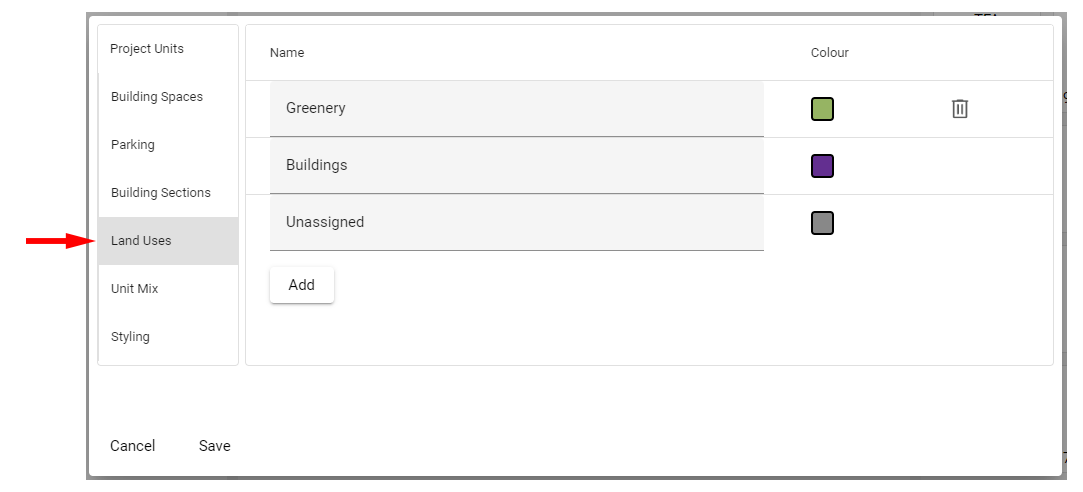
Land Use
Add land uses and adjust name and colour.
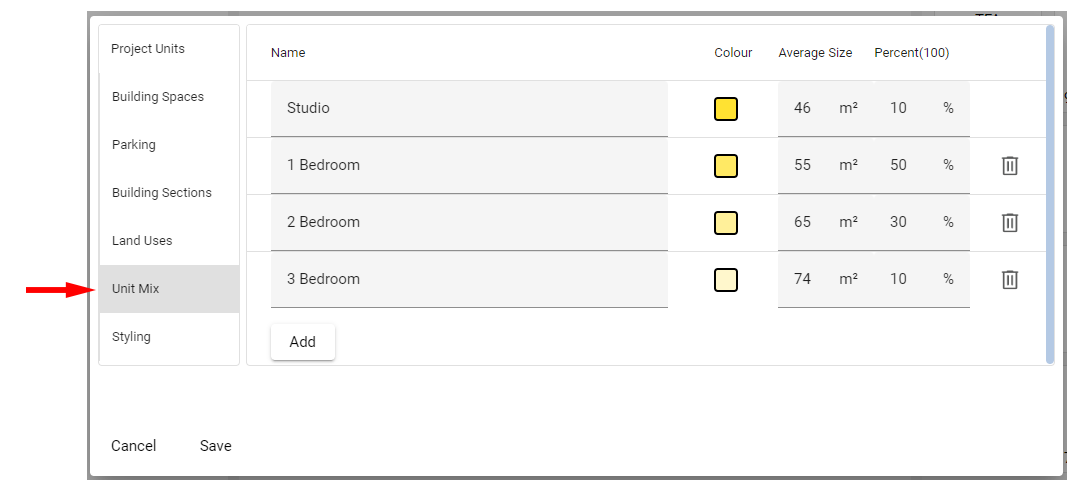
Unit Mix
Define the mix of residential units by type, average size, and percentage.
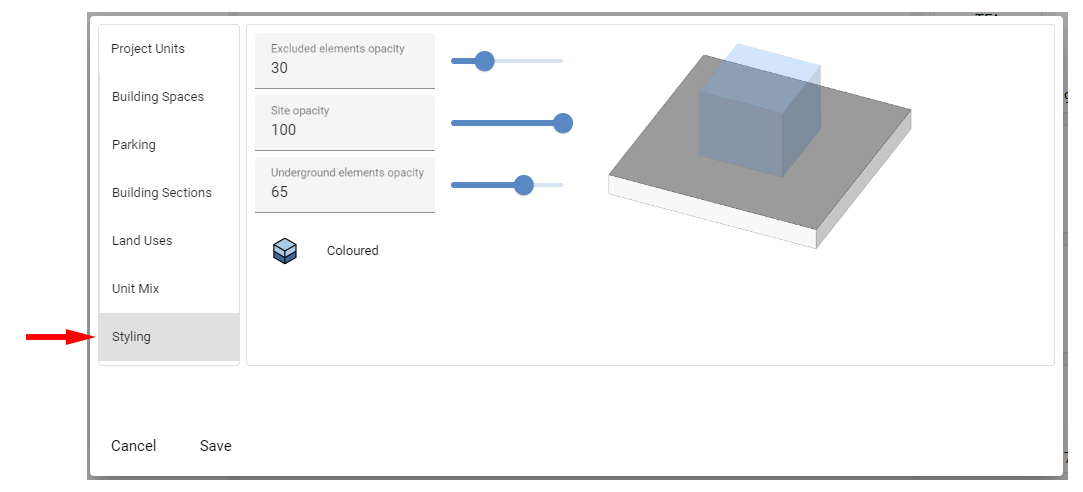
Styling
Adjust the visibility and transparency for excluded elements, site surfaces, and underground elements. Additionally, enable or disable black-and-white mode.
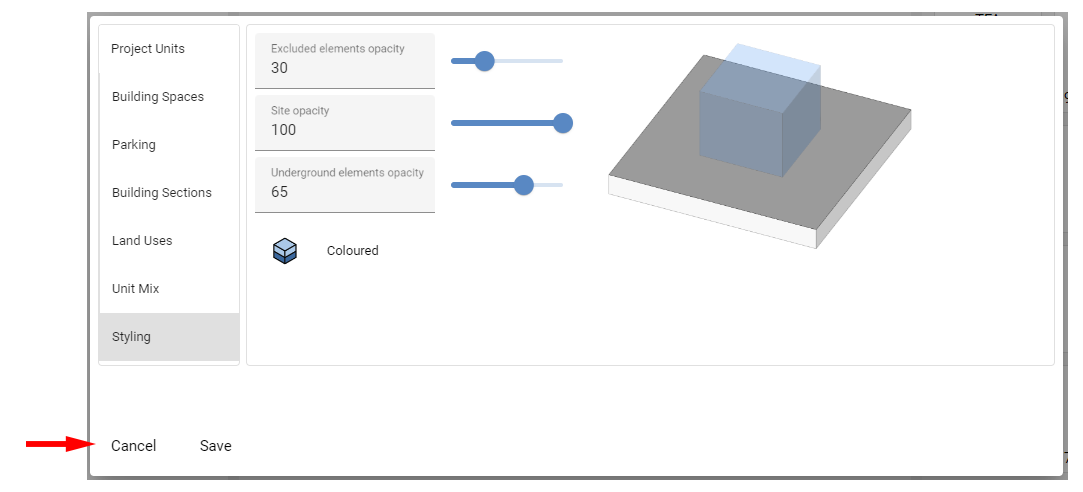
Save Preferences
After adjusting your project preferences in Planary:
- To apply and save your changes, click the ‘Save’ button.
- If you decide not to keep the changes, click ‘Cancel’ to revert to the previous settings.
These preferences allow for detailed project customization, enhancing your planning and analysis workflow in Planary.