-
Shadow Colour for SketchUp®
-
Shadow Colour for Autodesk® Revit®
-
Planary for Autodesk® Revit®
-
- Articles coming soon
-
-
Planary for Autodesk® AutoCAD®
-
- Articles coming soon
-
-
Plan Match for Autodesk® Revit®
-
- Articles coming soon
-
-
Account Management
-
Changelog
Maps
Integrating a 3D World Map with Planary
Planary allows you to integrate a 3D world map into your project for a more comprehensive and better evaluation of the project within the geography and city context.
Place Your Project on a Map
1. Map Types: Planary supports three main map types: Satellite, 3D, and None. To choose a map type, navigate to the bottom right corner of the Planary 3D view and select the desired type.

2. Use the map settings to search for your location address or enter the geolocation’s longitude and latitude if available.
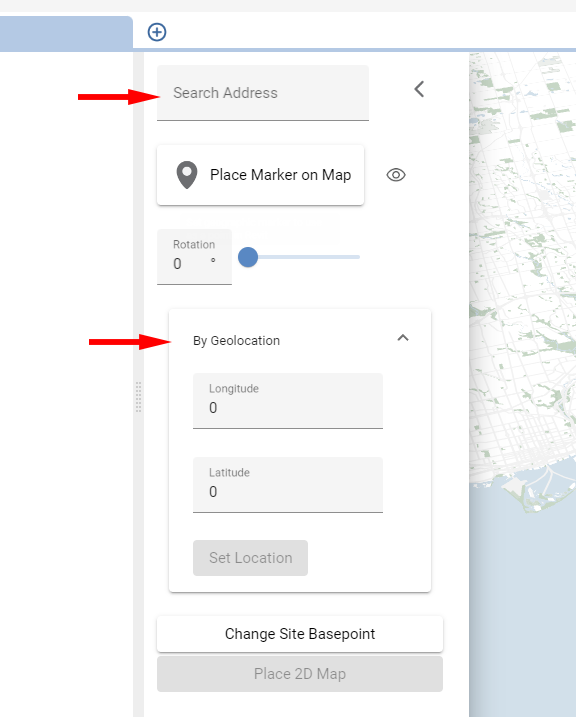
3. Select ‘Place Marker on Map’ and click on your desired location on the map.

Linking to Revit
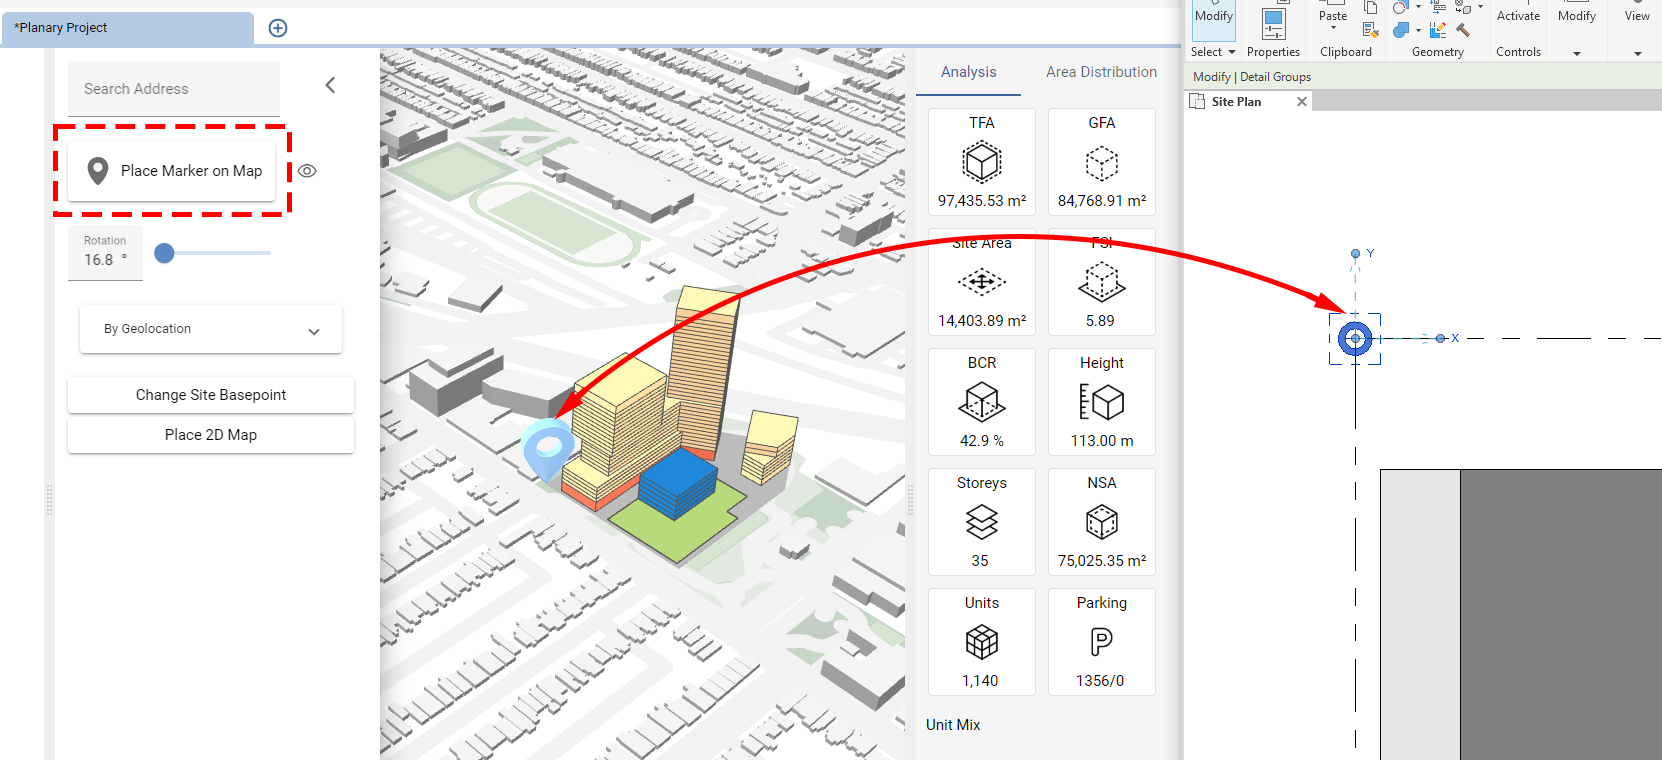
1. To match the base point of Planary to the drawing in Revit, Click ‘Change Site Basepoint’ and pick a point in the Revit view to link the marker location to the site.
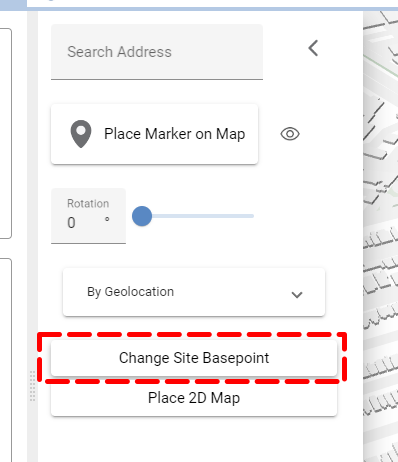
2. A Planary site basepoint (detail familiy) will be created and linked to the Planary map marker. You can always move, adjust or recreate the site basepoint.
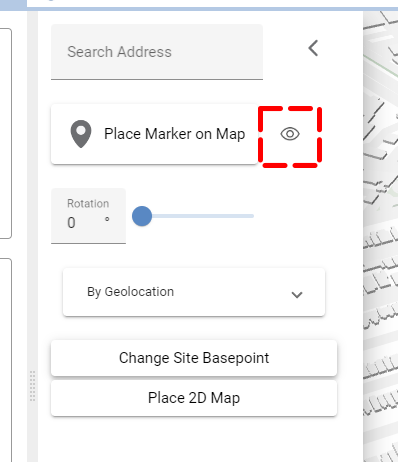
2. Hide the Marker from the view, Click on ‘Hide’.
Adjusting Site Orientation
Adjust your site to the map using the rotation tool.
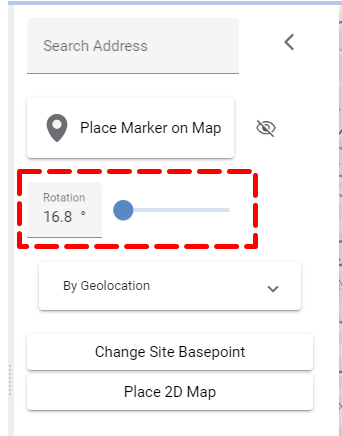
To access the map settings again, click on the map settings icon located at the top left of the 3D view.
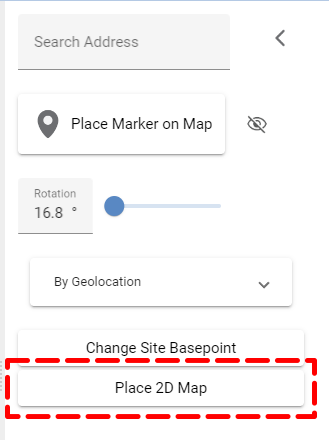
Place Map in Revit
To insert a 2D satellite map from Planary into your Revit view, simply click ‘Place 2D Map’
A satellite image will be generated instantly in the Revit view.
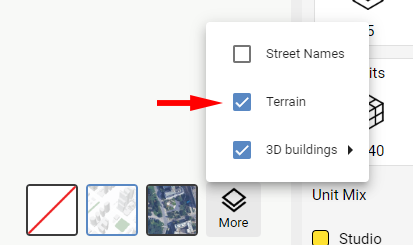
Topography
To add a topography layer, click ‘More’ at the button on the right of the Planary view, and check ‘Topography.
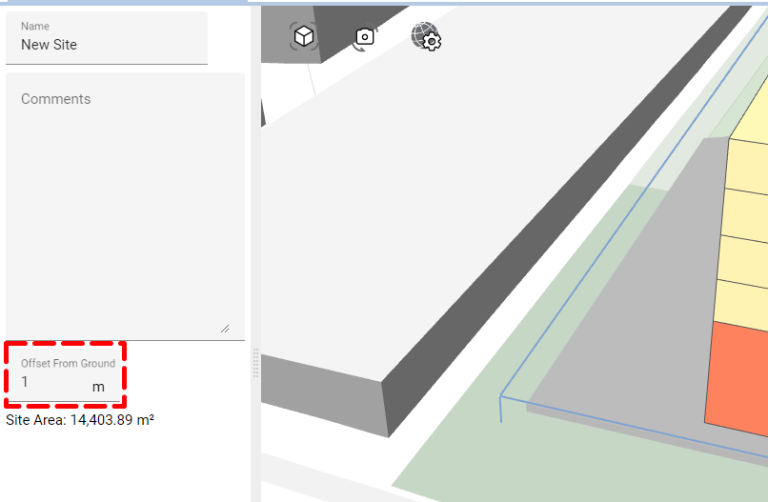
Adjust building height to topography
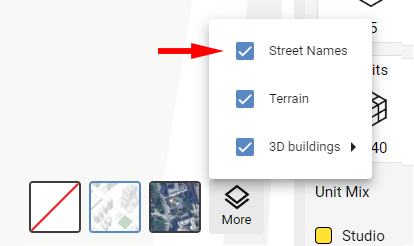
Street names
To display street names on the map, click ‘More’ at the bottom right of the Planary view and select ‘Street Names’.
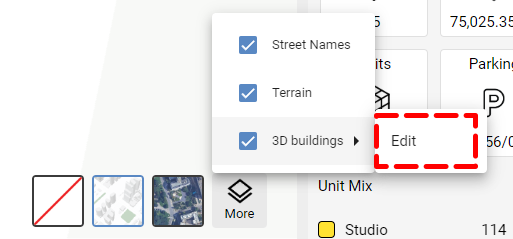
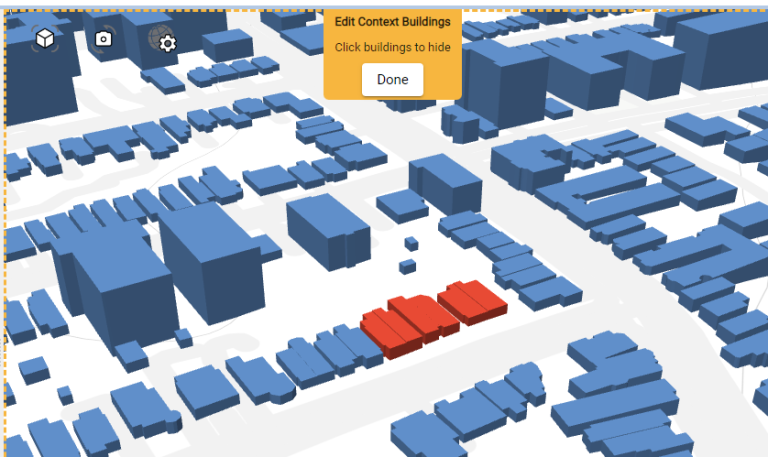
Hiding Context Buildings
1. To hide existing buildings from the 3D map, navigate to ‘More’ -> ‘3D Buildings’ -> ‘Edit’.
2. In the edit mode, select the buildings you wish to hide (these will turn red). Confirm your changes by clicking ‘Done’.
By following these steps, you can seamlessly integrate 3D world maps within your projects, providing a context and aiding project planning and evaluation.