Knowledge Base
-
Shadow Colour for SketchUp®
-
Shadow Colour for Autodesk® Revit®
-
Planary for Autodesk® Revit®
-
Planary for Autodesk® AutoCAD®
-
Plan Match for Autodesk® Revit®
-
- Articles coming soon
-
-
Account Management
-
Changelog
Conduct a Shadow Study
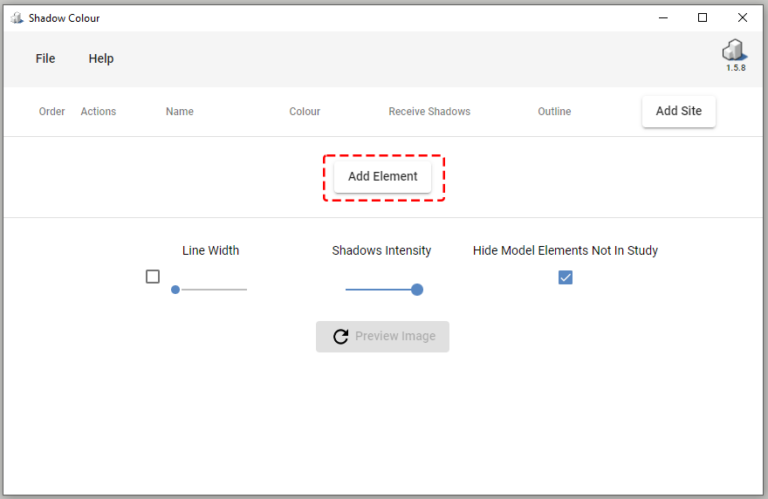
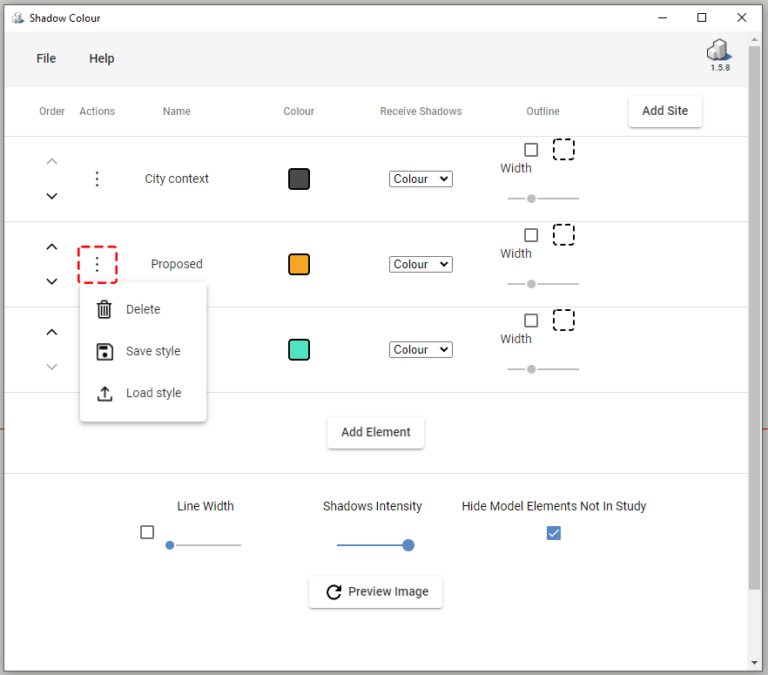
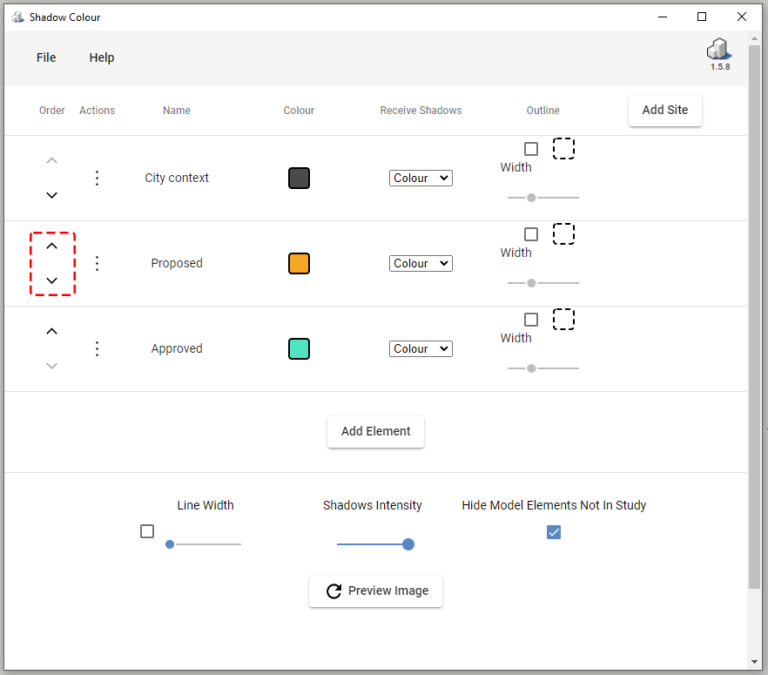
Add elements and assign colours
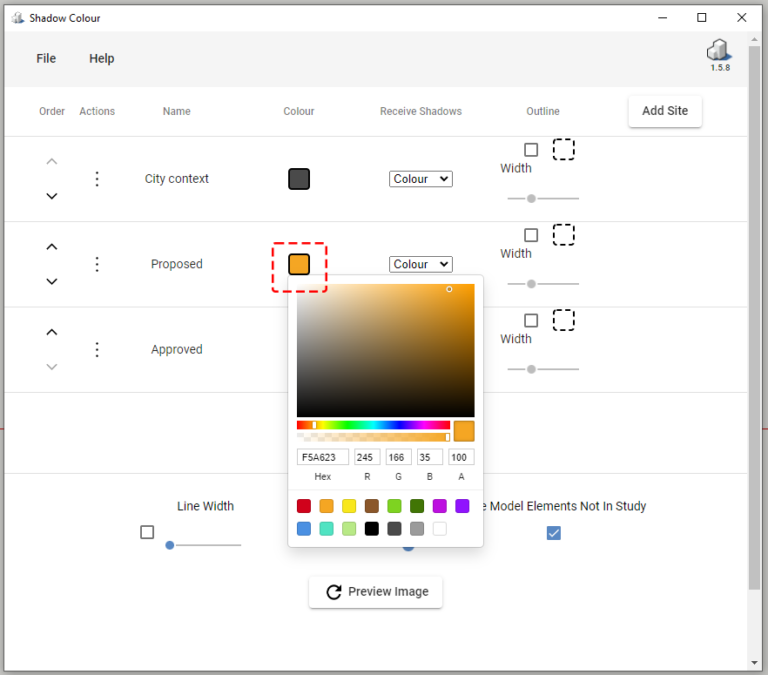
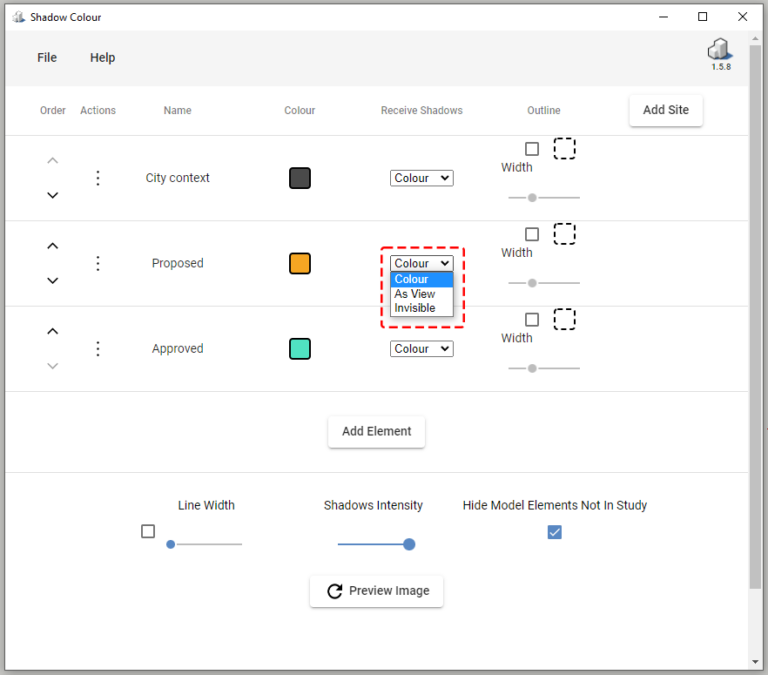
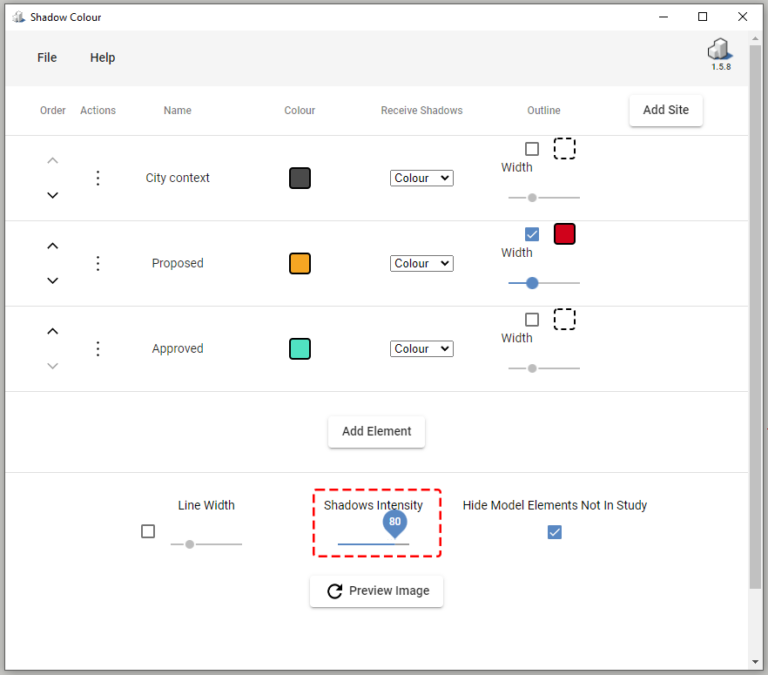
5. Change the colour of the shadows cast on top of the corresponding element (layer).
- Colour – Any shadow that is cast on this element will be coloured using the colour that was chosen for the element that is casting the shadow.
- As View- Any shadow cast on this element will be coloured grey using the shadow intensity configured in SketchUp.
- Invisible – Shadows cast on this element will not be shown.
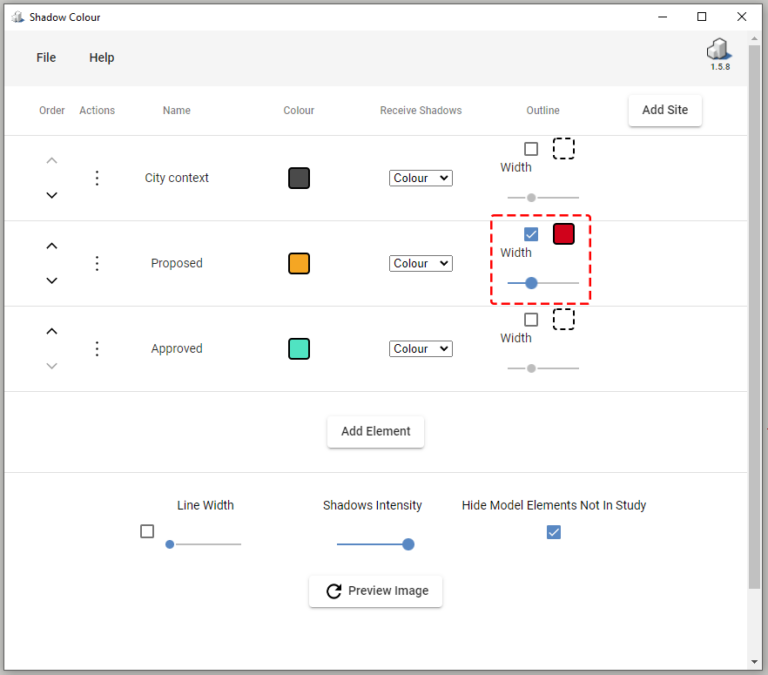
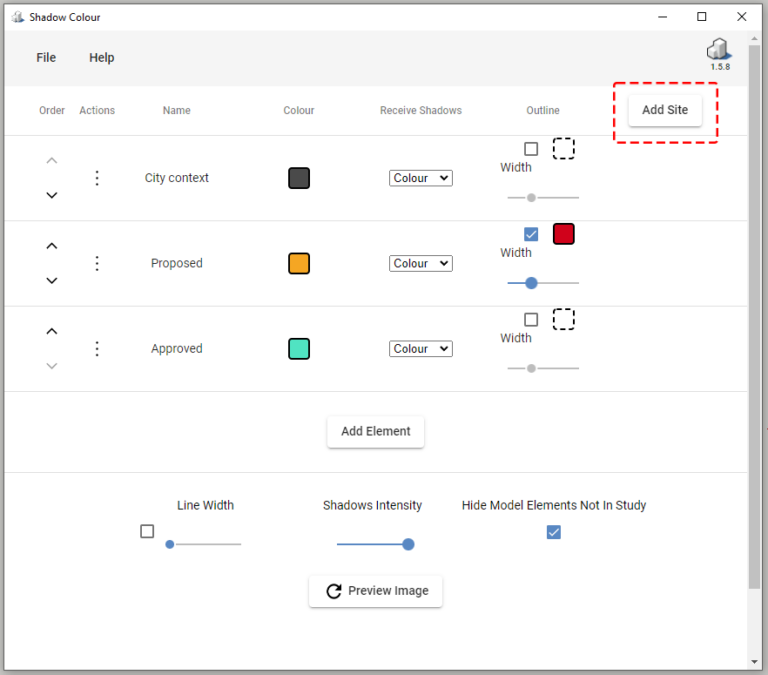
7. In certain scenarios, you might want to use a different colour for shadows that are cast within a certain site/region.
You may assign a different colour for shadows within a site.
- Click ‘Add site’ and select a surface from SketchUp.
- Select a colour for the element’s shadow that falls within the selected site(surface).
Great! You now know how to set up your shadow study.
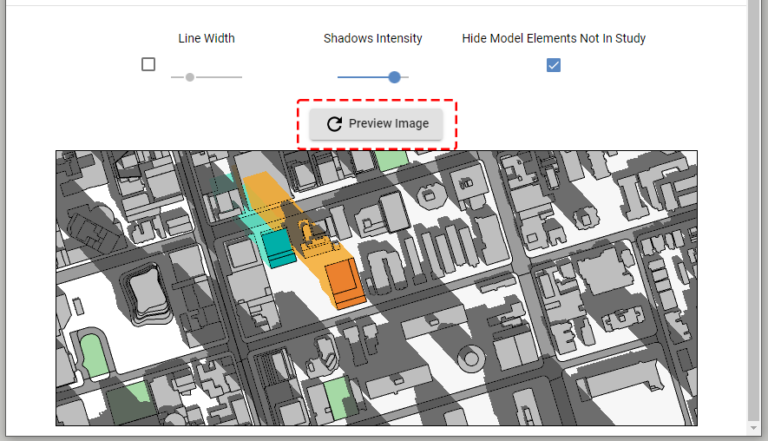
Once you’re happy with the preview, you would want to export the shadow study.
Continue to the next article to see how.
Table of Contents

