Knowledge Base
-
Shadow Colour for SketchUp®
-
Shadow Colour for Autodesk® Revit®
-
Planary for Autodesk® Revit®
-
- Articles coming soon
-
-
Planary for Autodesk® AutoCAD®
-
- Articles coming soon
-
-
Plan Match for Autodesk® Revit®
-
Account Management
-
Changelog
Save Plans
In Plan Match, you can store floor plans based on Revit Areas and Rooms. Saved plans will be visible and accessible to everyone on the team according to the assigned permissions.
To save a plan from your Revit project:
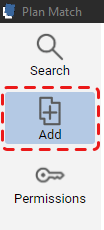
1. Go to the ‘Add’ page.
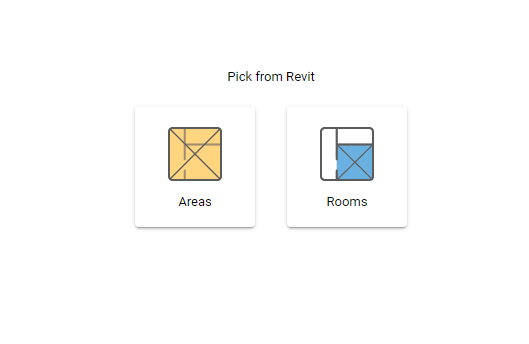
2. Under ‘Pick from Revit’ select ‘Area ‘ or ‘Room’.
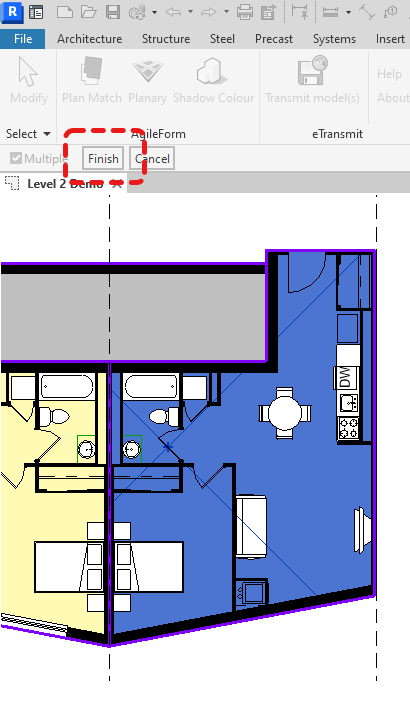
3. In the Revit view, select the areas or rooms you wish to save, and click ‘Finish’.
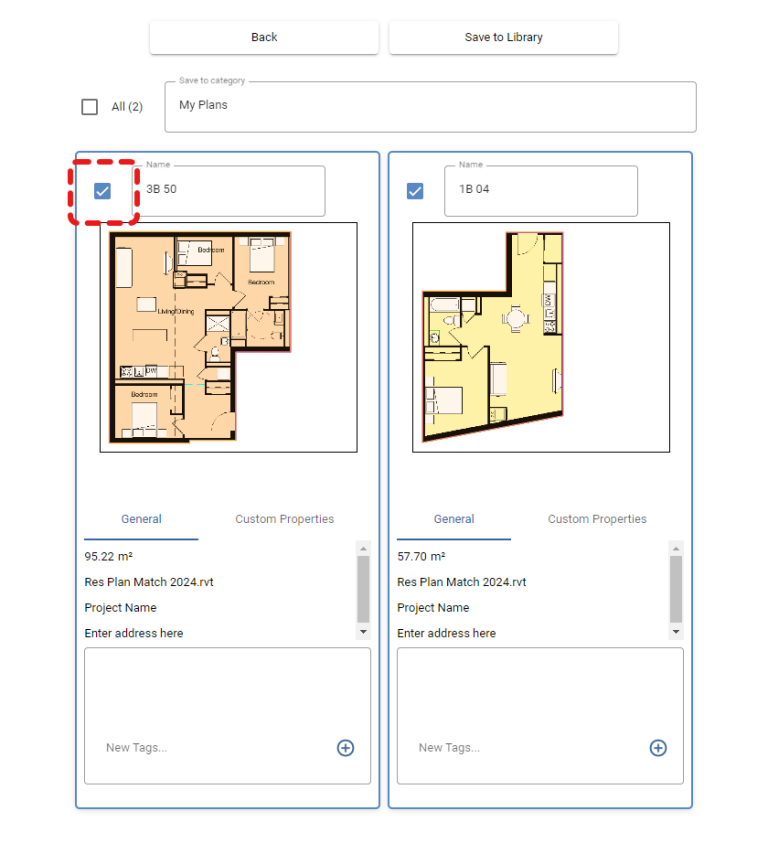
4. After selecting the areas/rooms in Revit, Plan Match will present the plans for your final review before saving:
- Preview: Including zoom in/out functionality.
- General Information: Including area, file name, project name, and address.
- Custom Properties: Including custom Revit parameters.
- Tags: Add tags to help categorize the plan.
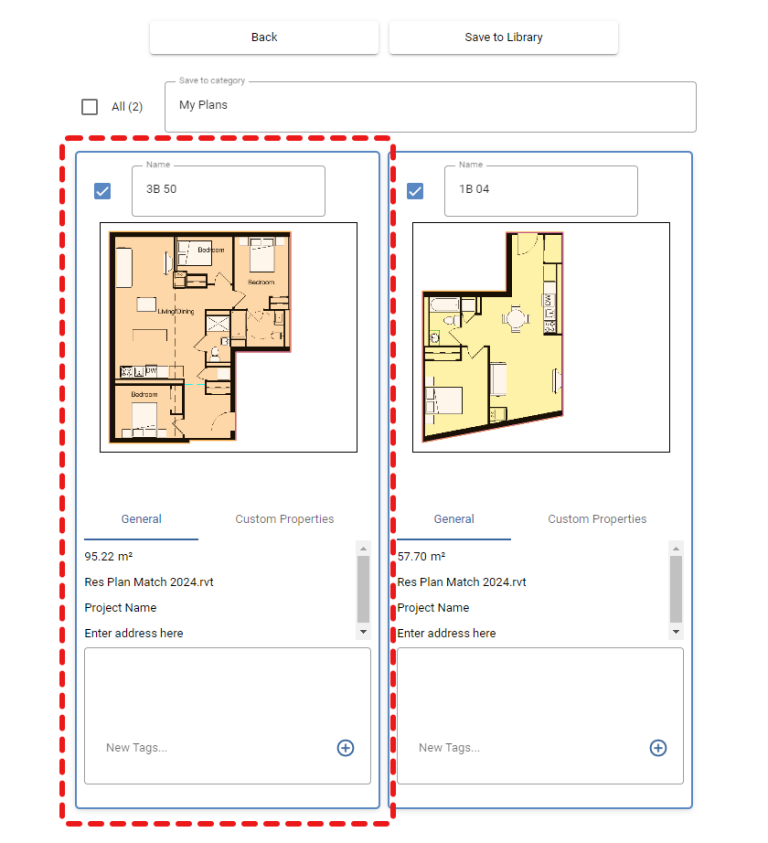
6. Select the plans you wish to save.
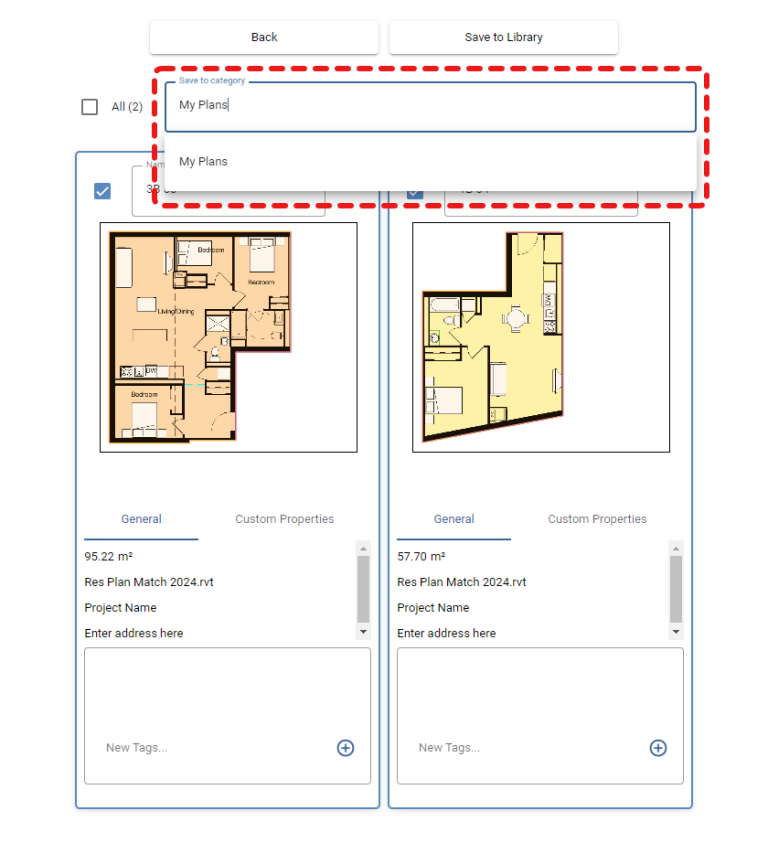
7. Select an existing category for the plans or type a new category.
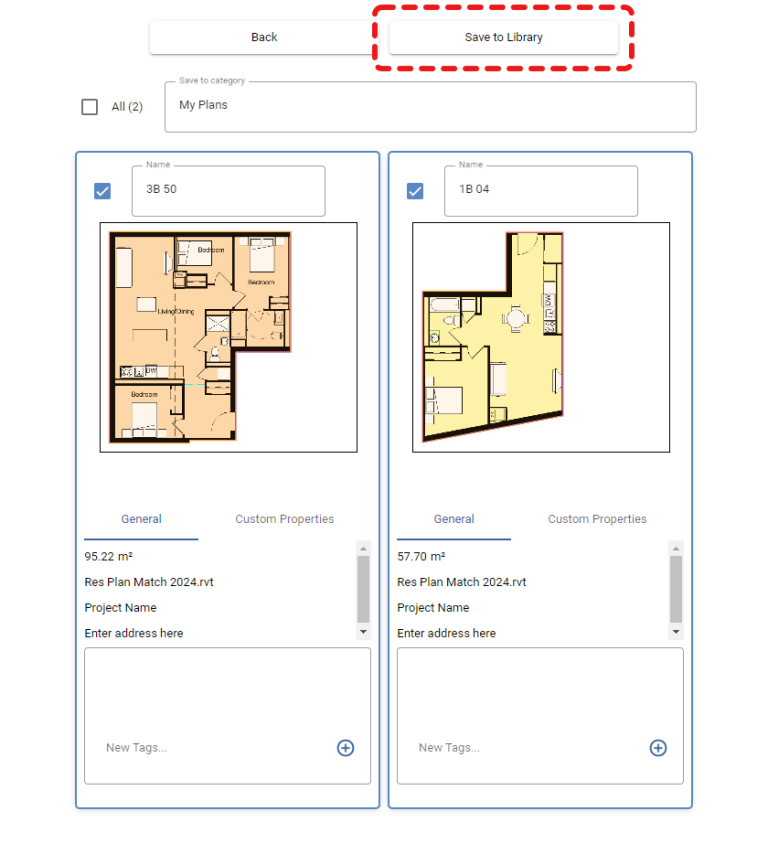
8. Click ‘Save to Library.’
9. Click ‘Done.’
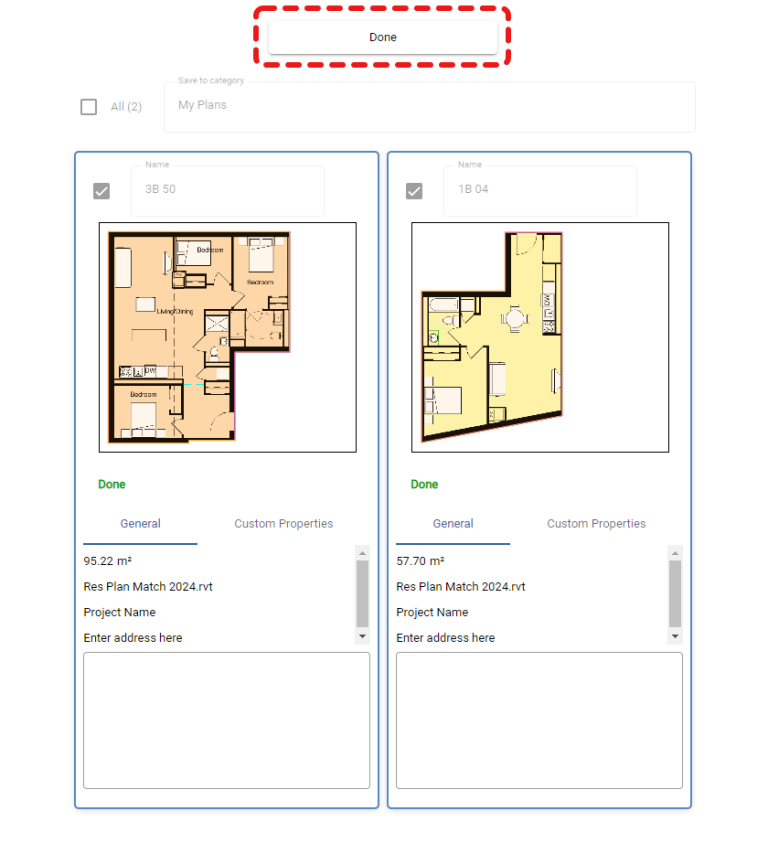
The selected areas/rooms are now saved in Plan Match!
Table of Contents