Knowledge Base
-
Shadow Colour for SketchUp®
-
Shadow Colour for Autodesk® Revit®
-
Planary for Autodesk® Revit®
-
- Articles coming soon
-
-
Planary for Autodesk® AutoCAD®
-
- Articles coming soon
-
-
Plan Match for Autodesk® Revit®
-
- Articles coming soon
-
-
Account Management
-
Changelog
Camera Settings
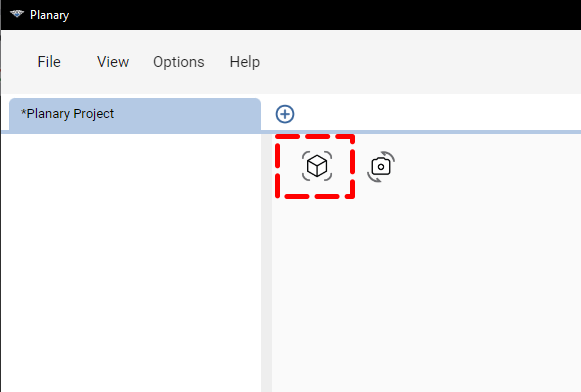
Reset Camera Position
To return the camera to its default position, click on the view reset icon located at the top left corner of the 3D view.
Camera Presets
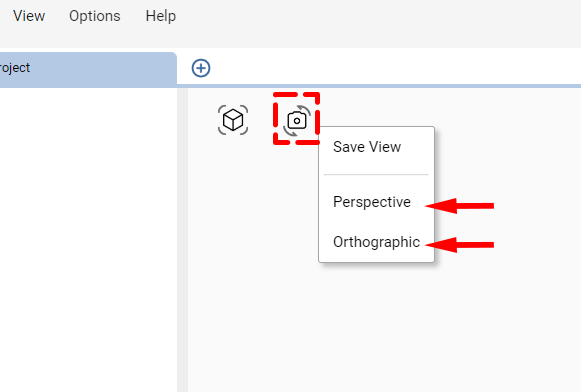
The camera menu offers two presets:
- Perspective: This setting creates a depth effect where lines converge towards a horizon, making some items appear closer and others farther away.
- Orthographic: In this mode, lines remain parallel, removing the perspective effect.
To switch between camera types, click the camera icon at the 3D view’s top left.
Save View
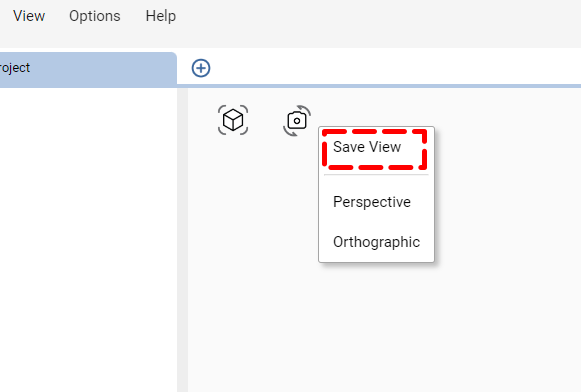
1. Click on the camera icon at the 3D view’s top left and select ‘Save View’.
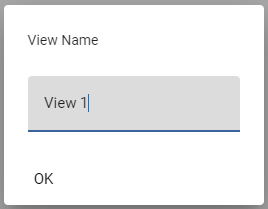
2. Enter a name for the new view and click ‘OK’. This view will then be accessible from the camera’s list.
Delete and Rename Views
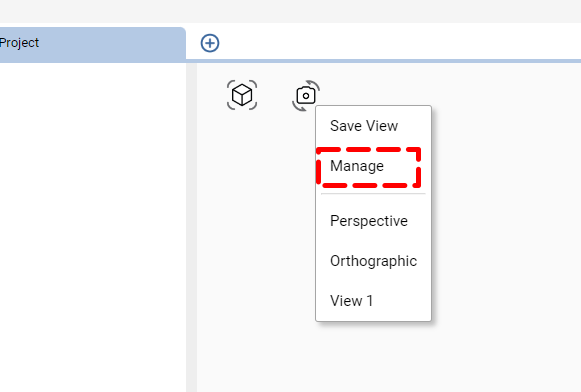
1. Click on the camera icon and select ‘Manage’.
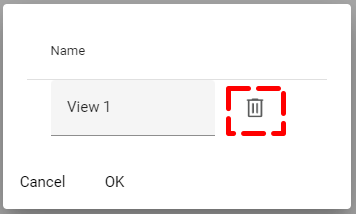
2. You may rename or delete a view by clicking on the garbage bin icon next to the view name.
Table of Contents
