Knowledge Base
-
Shadow Colour for SketchUp®
-
Shadow Colour for Autodesk® Revit®
-
Planary for Autodesk® Revit®
-
Planary for Autodesk® AutoCAD®
-
Plan Match for Autodesk® Revit®
-
- Articles coming soon
-
-
Account Management
-
Changelog
Save, Open and Export Project
You may save your Planary project at anytime to avoid losing your work.
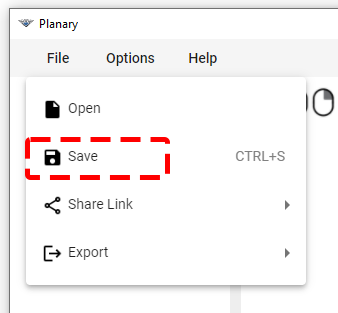
Save Project
Go to ‘File’ → ‘Save’ and select a location from the windows browser.

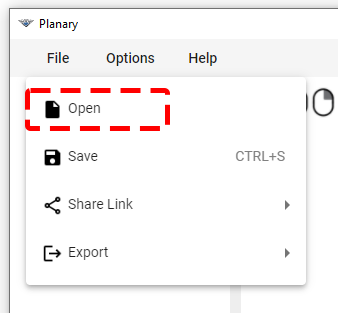
Open Project
1. Go to ‘File’ → ‘Open’ and select a location from the windows browser.

2. Select Planary file (plny file).
3. Pick a point in Revit. Planary will create the filled regions of the saved file and open a new project window.
3. Pick a point in Revit. Planary will create the filled regions of the saved file and open a new project window.
Export
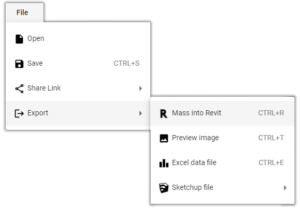
Go to ‘File’ → ‘Export’ and select the type of file you wish to export.
Mass into Revit – You’ll be prompted with a window to choose name for the mass as well as level. Planary will generate a new Revit massing at the same position as the filled regions.
Preview Image – Export the 3D view as an image file.
Excel data file – Export the statistics of your study as an Excel file.
Table of Contents

