-
Shadow Colour for SketchUp®
-
Shadow Colour for Autodesk® Revit®
-
Planary for Autodesk® Revit®
-
Planary for Autodesk® AutoCAD®
-
Account Management
-
Changelog
-
Marketing Plans for Autodesk® Revit®
Getting Started
Launching Marketing Plans
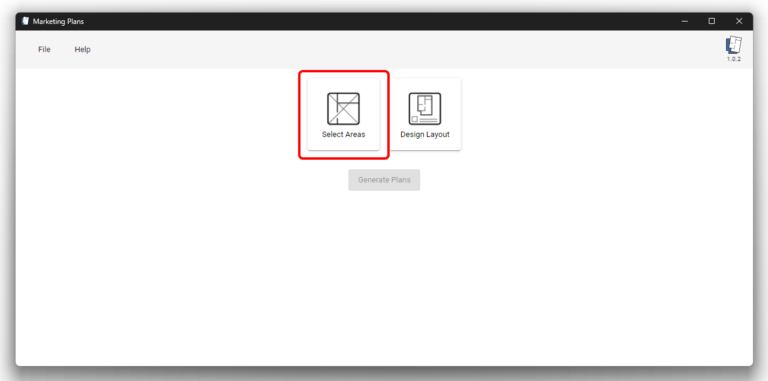
To launch the Marketing Plans application, navigate to the Add-Ins toolbar in Revit and click Marketing Plans.

Selecting Units
- To begin, select the units you want to include in your Marketing Plans. Click Select Areas in the Marketing Plans panel.
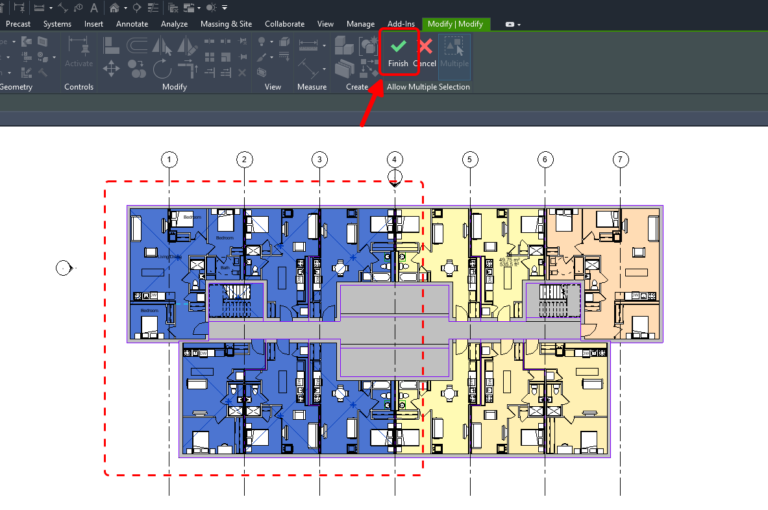
- Go to your Area Plan view in Revit and select the areas representing the desired units. You can select areas by clicking individually or by using a selection box.
Click Finish to confirm your selection.
Unit List
Each selected area appears as a row in the unit list. The list allows you to review, edit, and control which units will be generated.
Each row includes the following fields and actions:
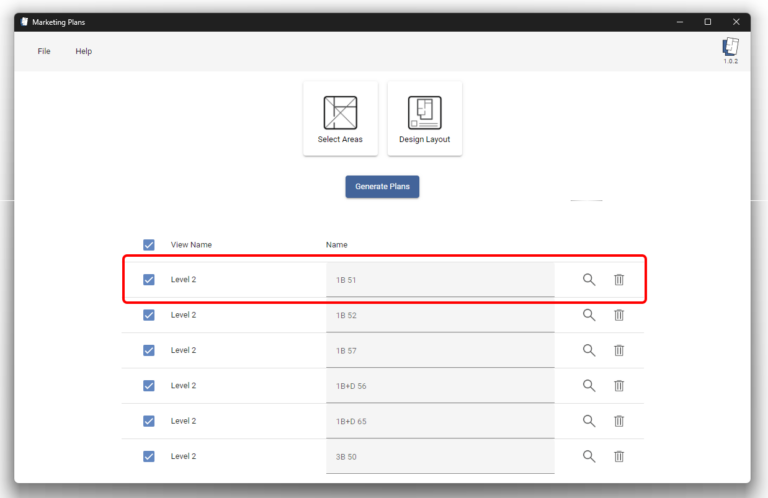
Include or Exclude
Use the checkbox to include or exclude a unit from generation. Unchecked units will not be generated.

View Name
Displays the view name associated with the selected area.

Name
Shows the area name as defined in Revit. You can rename the unit by typing a new name directly in the list.

Show in Revit
Click the magnifying glass icon to open the corresponding view in Revit and zoom to the unit location.

Remove from List
Click the trash icon to remove the unit from the list.

Adding More Units
You can add more areas at any time by clicking Select Areas again. Units can be selected from different views and floors and will be added to the existing list.