-
Shadow Colour for SketchUp®
-
Shadow Colour for Autodesk® Revit®
-
Planary for Autodesk® Revit®
-
Planary for Autodesk® AutoCAD®
-
Account Management
-
Changelog
-
Marketing Plans for Autodesk® Revit®
-
- Articles coming soon
-
Save, Open and Export Project
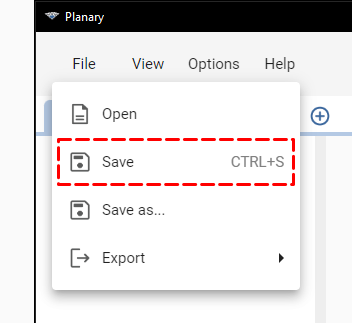
Save Project
To ensure your work is not lost, you can save your Planary project anytime. Here’s how:
- Save: To save your current progress, go to ‘File’ → ‘Save’ This will overwrite the previous version of your project with any new changes you’ve made.
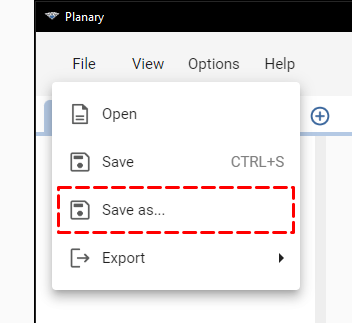
- Save As: If you wish to save your project under a new name or location, go to ‘File’ → ‘Save As’ and select a location from the Windows browser.
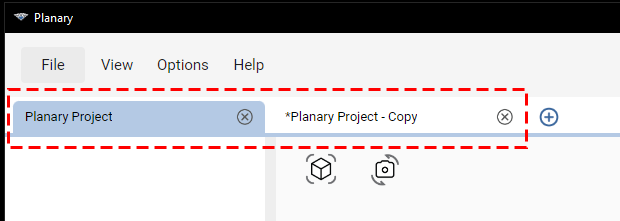
Note: Each design option is a separate project. Keep an eye out for the asterisk (*) symbol next to your project name. This symbol indicates that there have been changes to the project since your last save. It’s a visual reminder to save your work regularly and avoid losing any progress.
Open Project
To open a project, select ‘File’ → ‘Open’, then choose a Planary file (.plny) from the Windows browser.

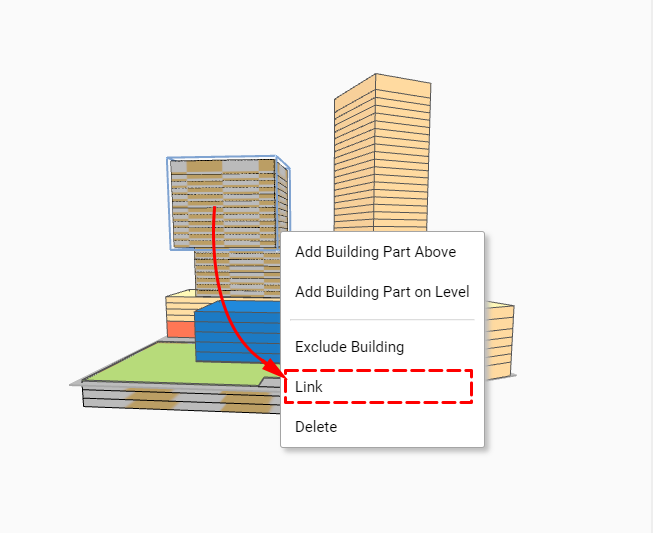
Planary will automatically link filled regions used in the feasibility study to the project. If Planary cannot locate the corresponding filled regions, you can manually relink them by right-clicking the element and selecting ‘Link’.
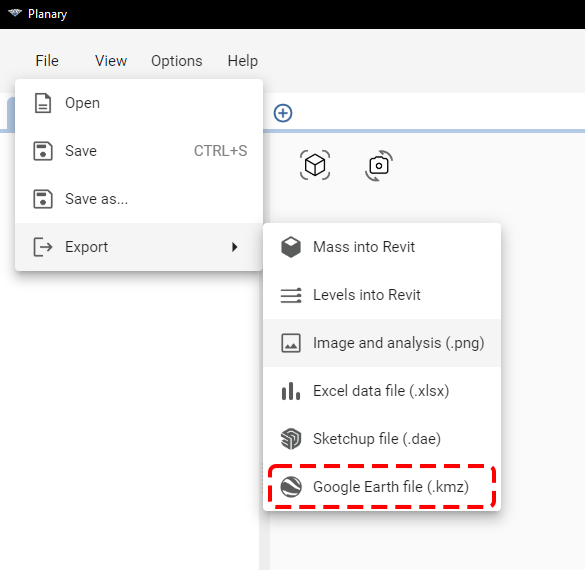
Export
Export masses:
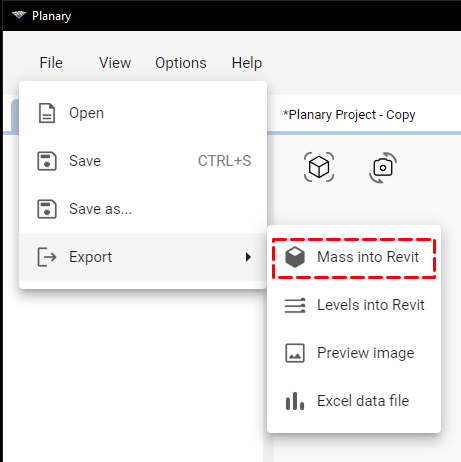
When exporting masses to Revit, Planary generates a mass for each building and places it at the exact location of the filled regions.
1. To export masses, go to ‘File’→’Export’→’Mass into Revit’.
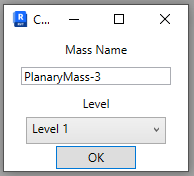
2. In the popup window, type a name and select a Level.
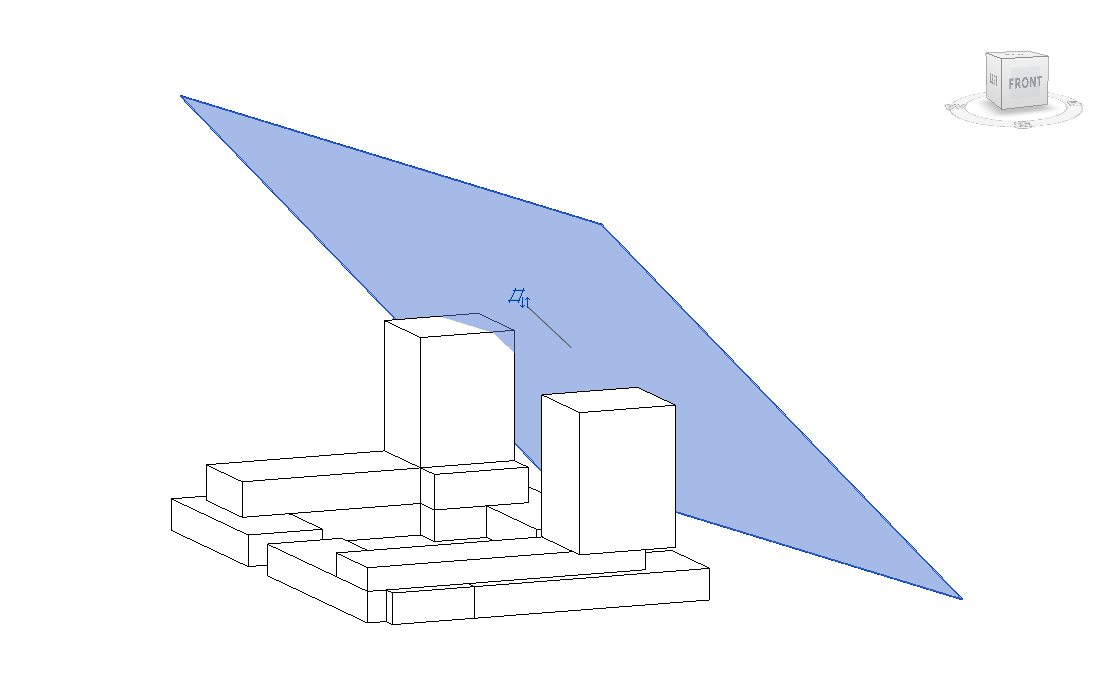
Note: Starting from version 3.3, when exporting masses to Revit, the Angular Plane will be exported along with the building mass as a Revit mass.
Export Levels:
When exporting levels, Planary will generate a new set of Levels in Revit, matching the number of floors and floor height.
- To export Levels, go to ‘File’→’Export’→’Levels into Revit’.
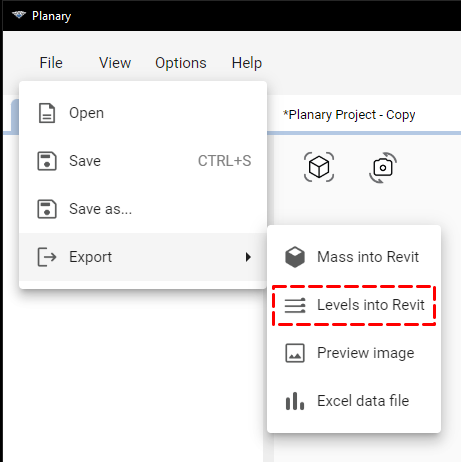
Note: Starting from version 3.3, select a base level to position the new levels.

Export Preview Image:
- To export a preview image, go to ‘File’→’Export’→ ‘Preview image’.
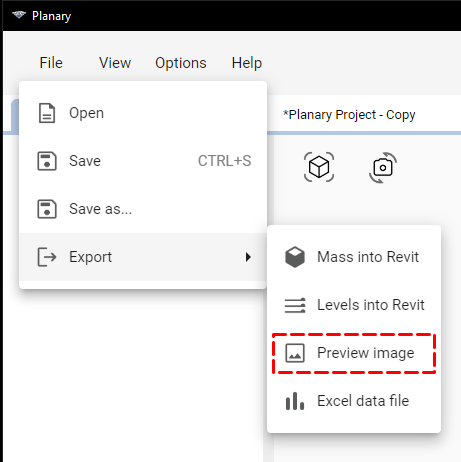
Note: Starting from version 3.3, the Analysis Dashboard will be included in the export along with the preview image.
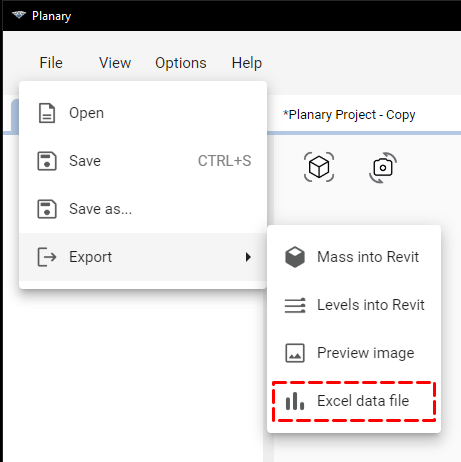
Export Excel Data File:
When exporting the analytics, Planary will create an Excel file containing all statistics from the analysis dashboard, a breakdown of the buildings and sites areas by use and the area distribution.
- To export an Excel data file, go to ‘File’→’Export’→’Excel data file’
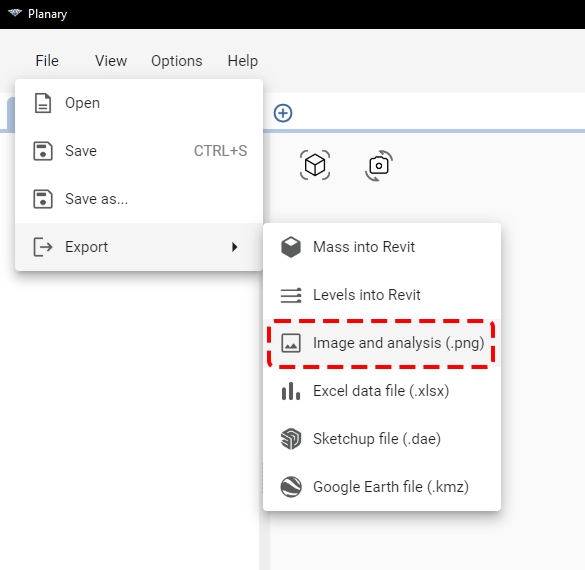
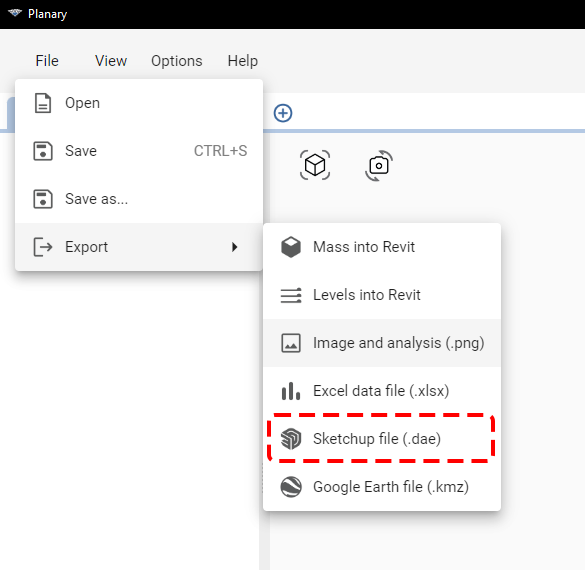
Export to SketchUp and Google Earth (available from version 3.3)
Exporting to SketchUp:
You can export the building mass, including Angular Planes, as a .dae (COLLADA) file, which can be imported into your SketchUp project.
- ‘File’ → ‘Export’ → ‘SketchUp file (.dae)’
Exporting to Google Earth:
You can export the building mass, including Angular Planes, as a .kmz file, which can be imported into Google Earth or any other another GIS platform that supports kmz files.
- ‘File’ → ‘Export’ → ‘Google Earth file (.kmz)’