-
Shadow Colour for SketchUp®
-
Shadow Colour for Autodesk® Revit®
-
Planary for Autodesk® Revit®
-
Planary for Autodesk® AutoCAD®
-
Plan Match for Autodesk® Revit®
-
- Articles coming soon
-
-
Account Management
-
Changelog
Export and Share
Export masses:
When exporting masses to Revit, Planary generates a mass for each building and places it at the exact location of the filled regions.
1. To export masses, go to ‘File’→’Export’→’Mass into Revit’.

2. In the popup window, type a name and select a Level.

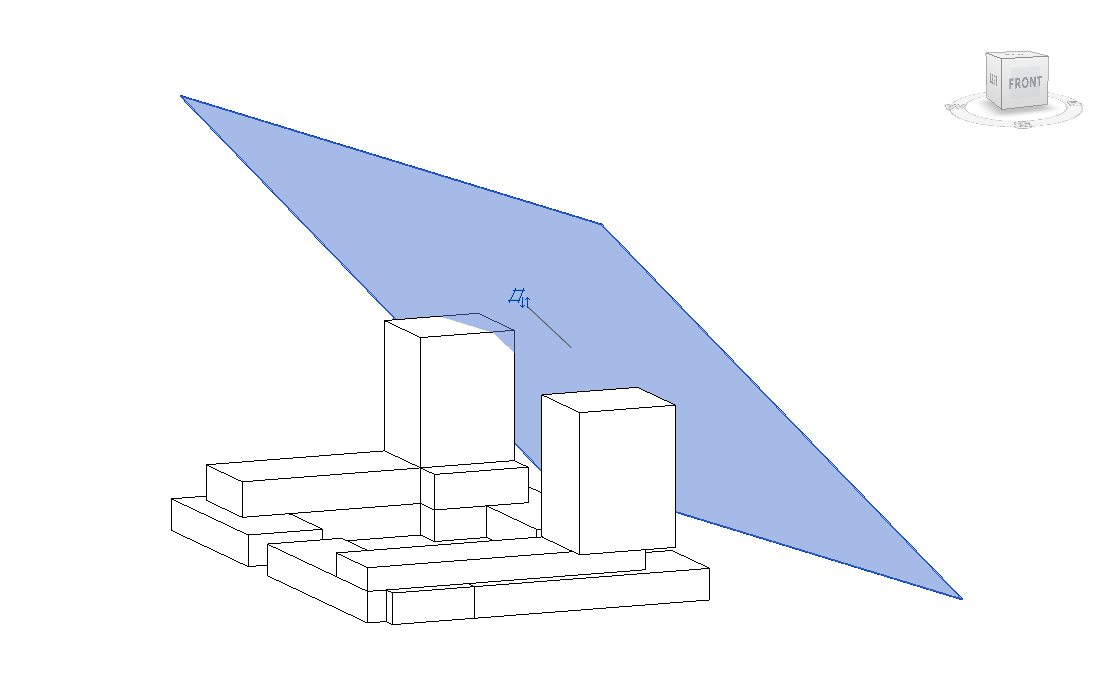
*When exporting masses to Revit, the Angular Plane will be exported along with the building mass as a Revit mass.
Export Levels:
When exporting levels, Planary will generate a new set of Levels in Revit, matching the number of floors and floor height.
- To export Levels, go to ‘File’→’Export’→’Levels into Revit’.

- Select a base level to position the new levels.

Export Image:
- To export a preview image from the 3D view, go to ‘File’→’Export’→’Image’→ ‘Preview’.
- To export a preview image of the analysis dashboard, go to ‘File’→’Export’→ ‘Image’→ ‘Analysis’.

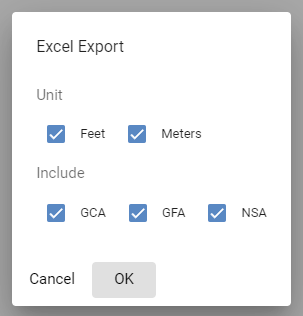
Export Excel Data File:
When exporting the analytics, Planary will create an Excel file containing all statistics from the analysis dashboard, a breakdown of the buildings and sites areas by use and the area distribution.
- To export an Excel data file, go to ‘File’→’Export’→’Excel data file’

- Select the statistics and units (Feet/Meters) to be included in the Excel report, and click ‘OK’.
Exporting to SketchUp:
You can export the building mass, including Angular Planes, as a .dae (COLLADA) file, which can be imported into your SketchUp project.
- ‘File’ → ‘Export’ → ‘SketchUp file (.dae)’

Exporting to Google Earth:
You can export the building mass, including Angular Planes, as a .kmz file, which can be imported into Google Earth or any other another GIS platform that supports kmz files.
- ‘File’ → ‘Export’ → ‘Google Earth file (.kmz)’

Share Link
Planary allows you to share your project via link that can be opened in any web browser.
To create a shared link, go to ‘File’ → ‘Share Link’

In the pop-up window, select the project options and presentation sheets you want to share.

For each item, you can choose to enable ‘Viewer Mode’.
‘Viewer Mode’ lets recipients view the 3D model and metrics without being able to modify the project or access its properties.

Select an expiry period from the drop-down menu, the link will remain active until that date.
Click ‘Share’ to generate the link.

You can then copy and open it in any browser to view the shared content.
