-
Shadow Colour for SketchUp®
-
Shadow Colour for Autodesk® Revit®
-
Planary for Autodesk® Revit®
-
Planary for Autodesk® AutoCAD®
-
Plan Match for Autodesk® Revit®
-
- Articles coming soon
-
-
Account Management
-
Changelog
Area Calculation
Area Calculation and Colour on Regions
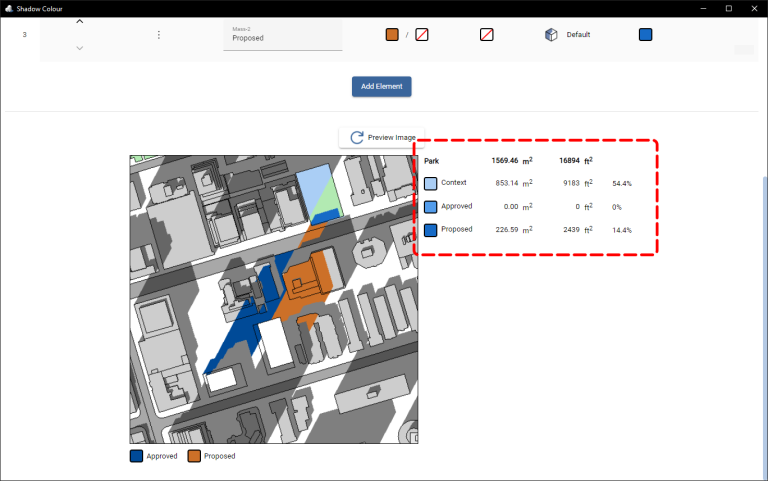
Shadow Colour allows you to calculate the shadow area within selected regions and apply a designated colour to those shadows.
To generate a shadow area calculation, please ensure the following:
- The view is Top and orthographic/parallel projection.
- The site is fully contained within the view.
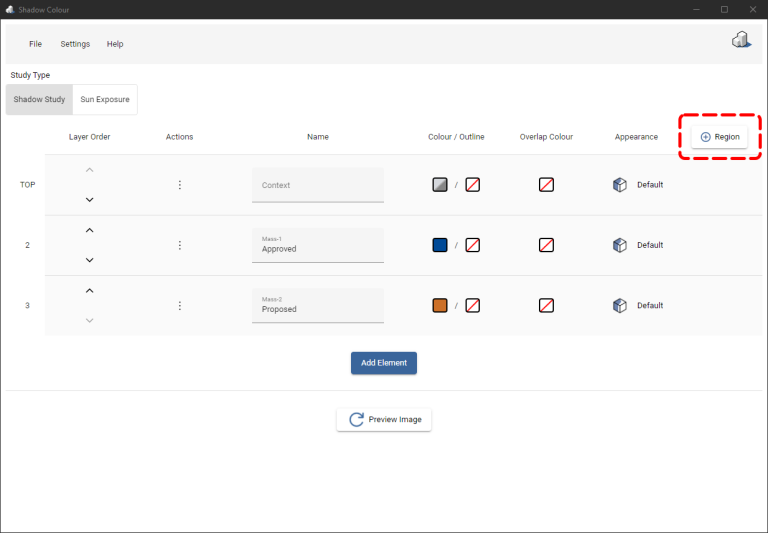
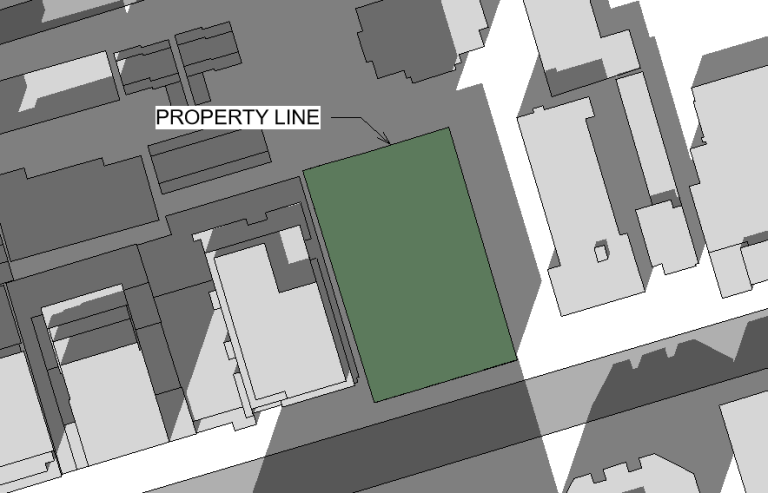
1. Click ‘Region’ and select a property line from the Revit view.
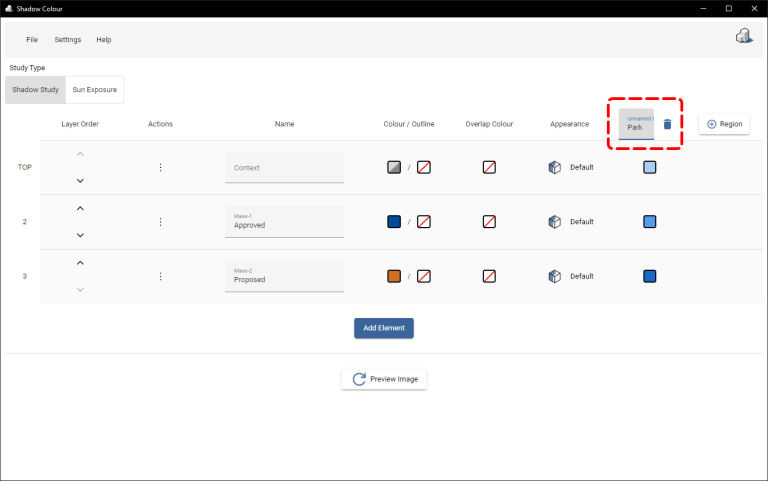
2. You can rename the region or remove it by clicking the garbage bin icon.
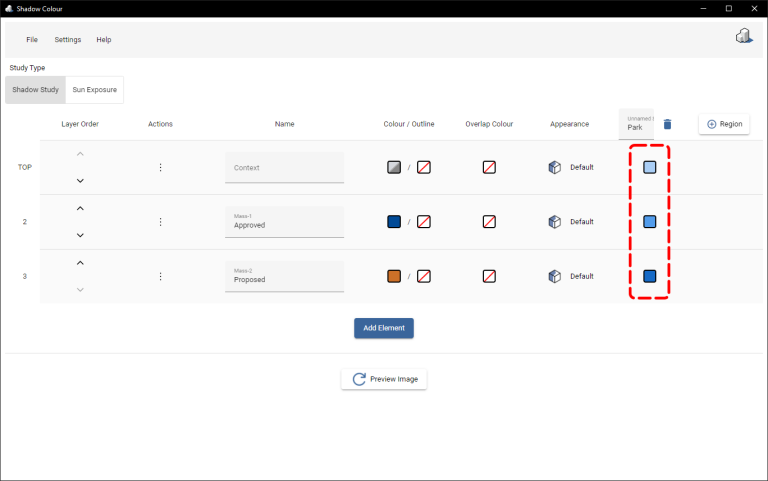
3. Choose a colour for the shadow of the element within the selected region.
Please keep in mind that a colour must be selected for the shadow area calculation. If you want the shadow to be displayed without colour, you can opt for full transparency.
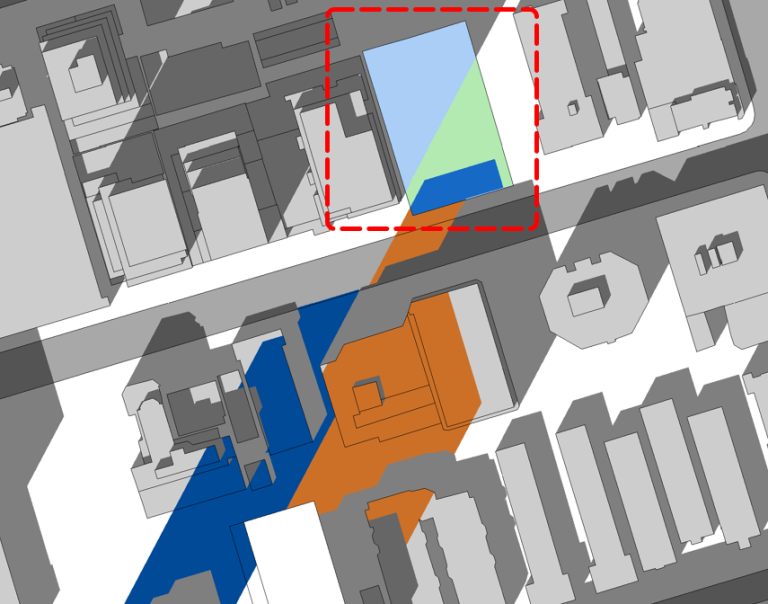
4. Click on ‘Preview Image’ and the area calculation will be displayed alongside the preview image.
- Please note that generating the preview image may take some time when calculating shadows’ area.
- You may deactivate the area calculation from the settings.
Video tutorial for version 2.0 will be available soon.
A quick video tutorial on how to calculate shadows area is available here:
