-
Shadow Colour for SketchUp®
-
Shadow Colour for Autodesk® Revit®
-
Planary for Autodesk® Revit®
-
Planary for Autodesk® AutoCAD®
-
Plan Match for Autodesk® Revit®
-
- Articles coming soon
-
-
Account Management
-
Changelog
Conduct a Shadow Study
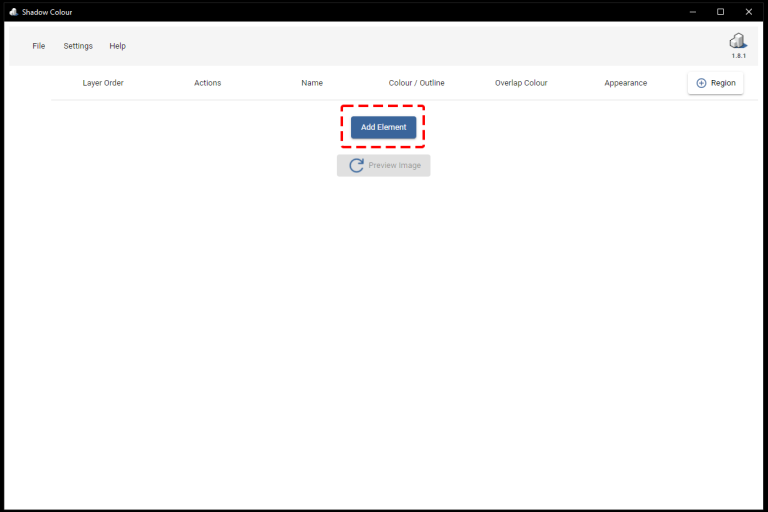
Add Elements and Assign Colours
1. Click on ‘Add Element’ and pick a group or component in SketchUp. The first element will be the top layer (usually the city context), and the last will be the bottom layer (usually the proposed building).
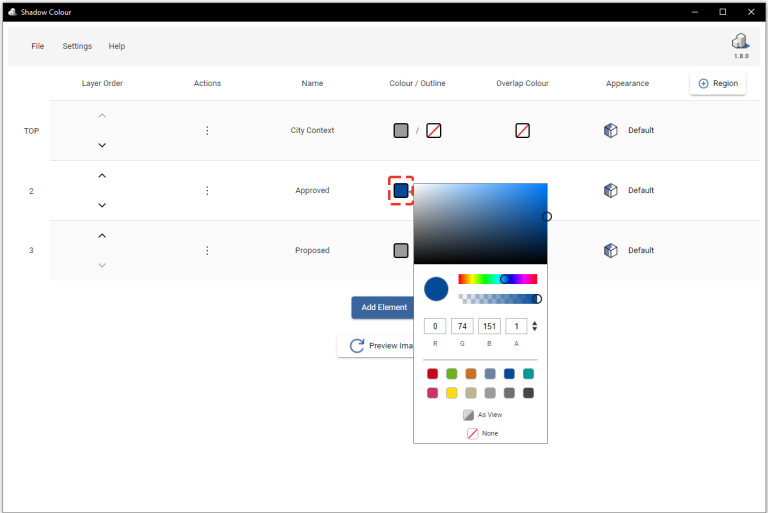
2. Assign colour and opacity for each element (layer) by using the colour picker.
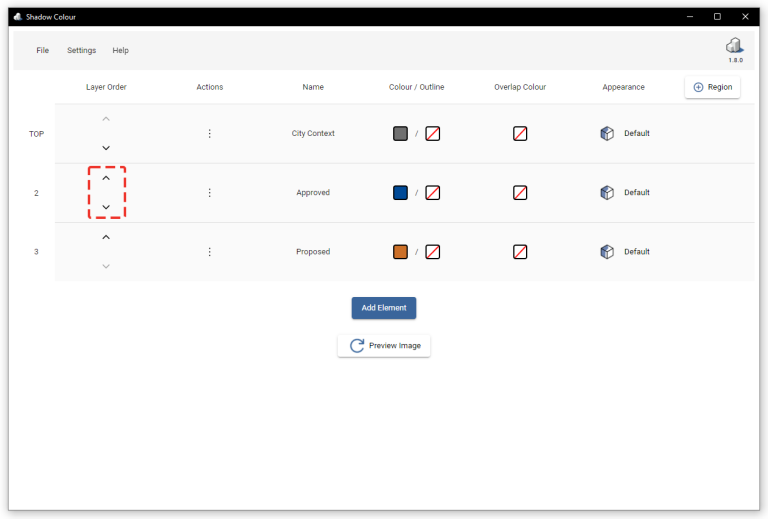
3. You may change the order of the shadows laid on top of each other.
Up – Bring element’s shadow forward
Down – Send element’s shadow backward
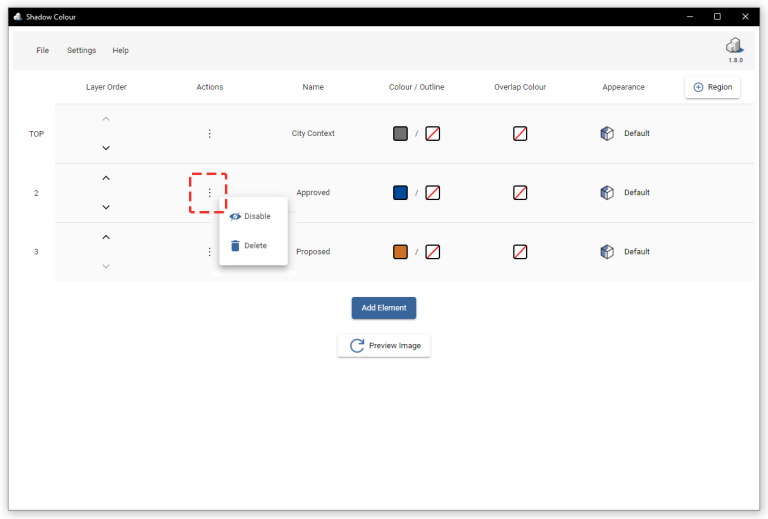
4. Under ‘Actions’, you can disable or delete the element from the study
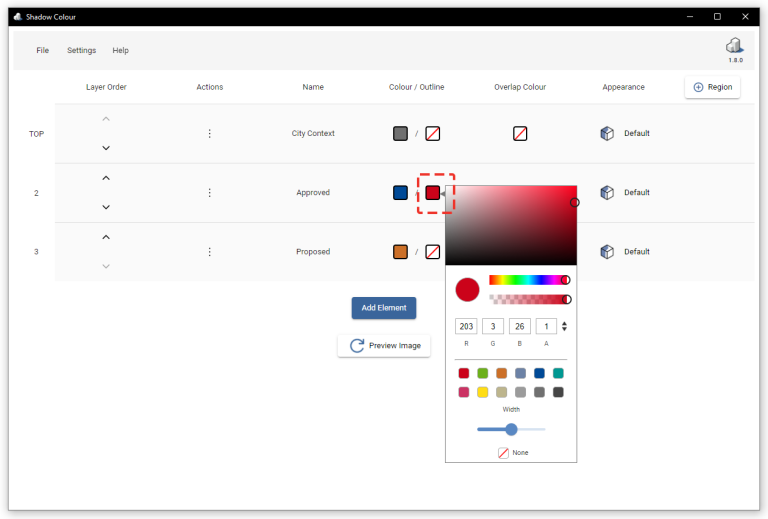
5. Create an outline for the shadow (optional). Choose a colour and outline width using the slider.
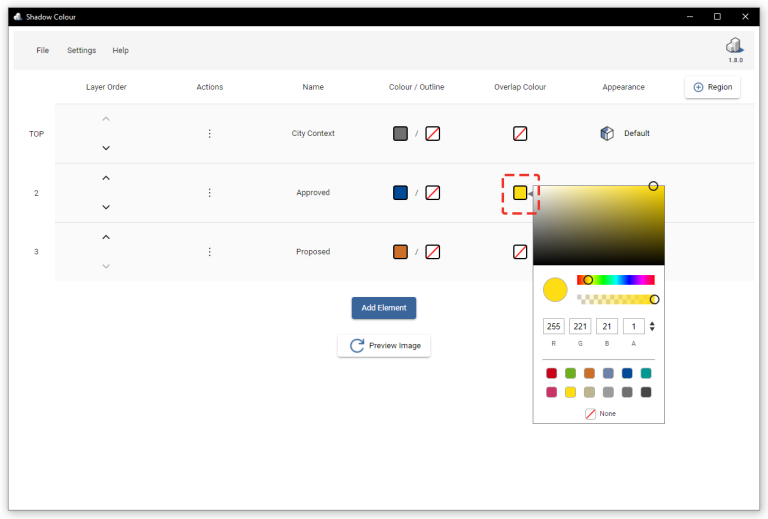
6. Under ‘Overlap Colour’, you can assign a colour for the overlapping shadow to the corresponding layer.
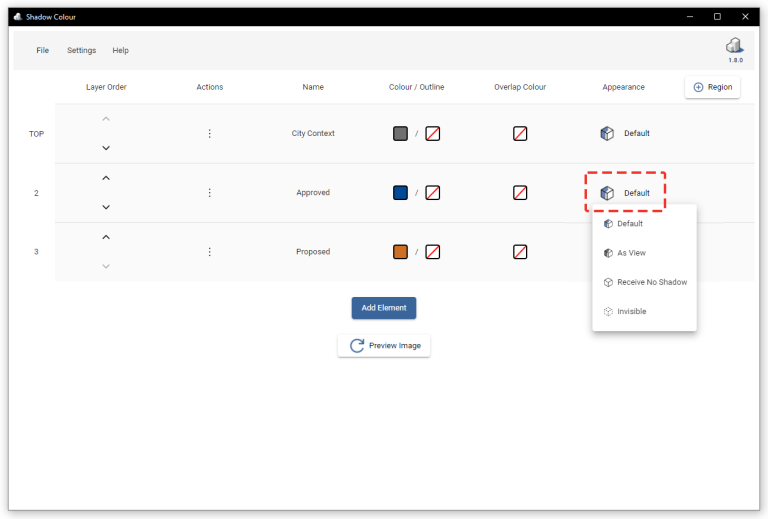
7. Under ‘Appearance’ , you can change the colour and the appearance of the shadows cast on top of the corresponding element (layer).
Default – Any shadow that is cast on this element will be coloured using the colour that was chosen for the element that is casting the shadow.
As View – Any shadow cast on this element will be coloured grey using the shadow intensity configured in SketchUp.
Receive No Shadow – Shadows cast on this element will not be shown.
Invisible – Element will be invisible, shadows of this element will be shown.
8. Press ‘Preview Image’ to get a preview of how your shadow study will look like.

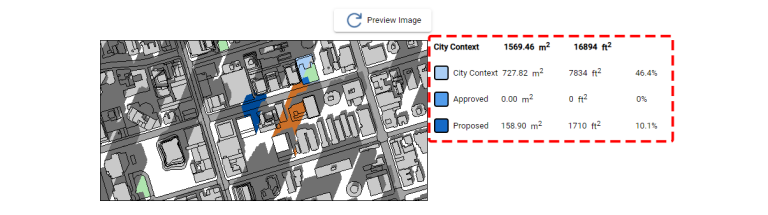
Area Calculation and Colour on Regions
Shadow Colour allows you to calculate the shadow area within selected regions and apply a designated colour to those shadows.
To generate a shadow area calculation, please ensure the following:
- The view is Top and orthographic/parallel projection.
- The site is fully contained within the view.
1. Click ‘Region’ and select a surface from the SketchUp view.
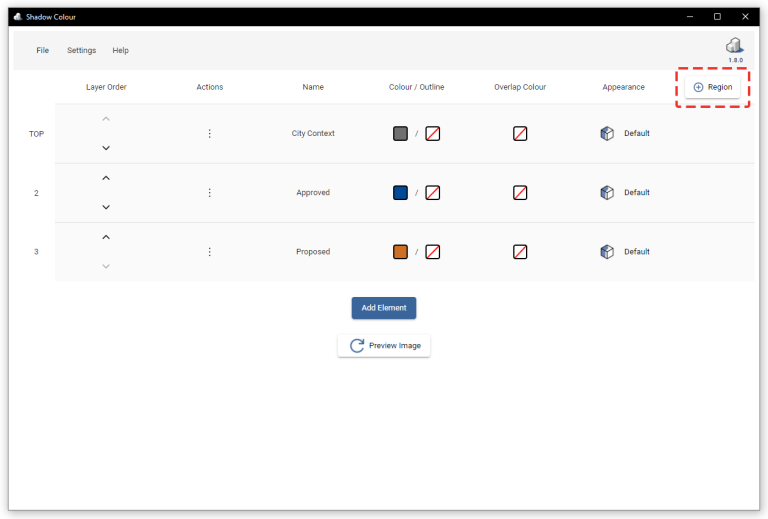
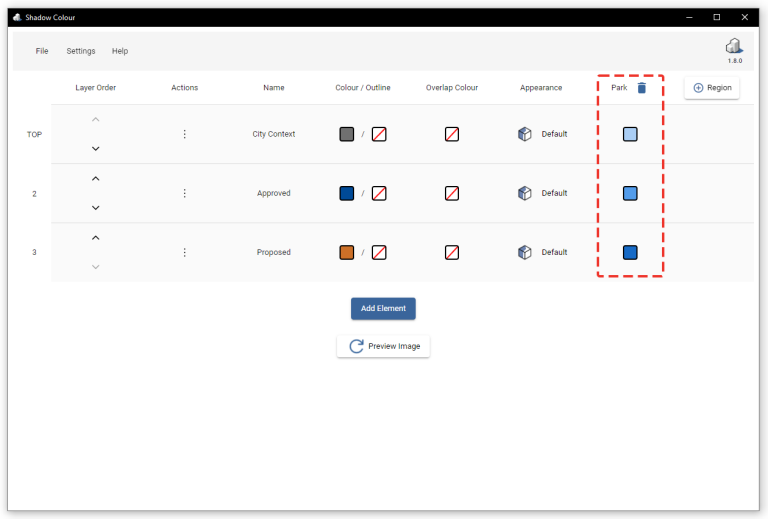
2. Choose a colour for the shadow of the element within the selected region.
Please keep in mind that a colour must be selected for the shadow area calculation. If you want the shadow to be displayed without colour, you can opt for full transparency.
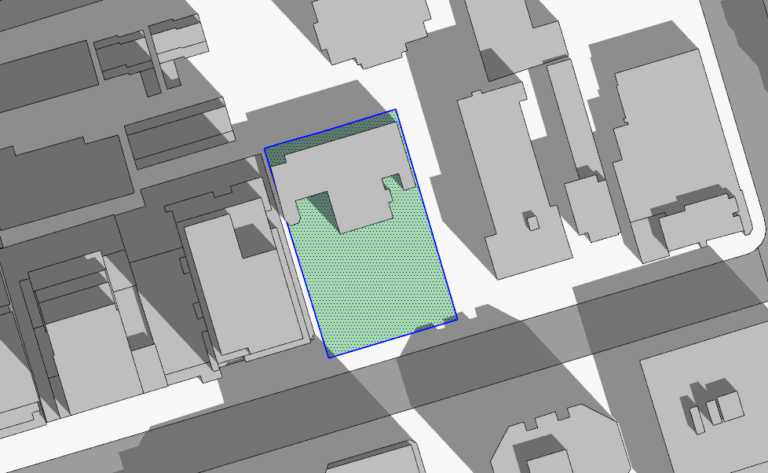
3. Click on ‘Preview Image’ and the area calculation will be displayed alongside the preview image.
- Please be aware that generating the preview image may take some time.
- You may deactivate the area calculation from the settings.