-
Shadow Colour for SketchUp®
-
Shadow Colour for Autodesk® Revit®
-
Planary for Autodesk® Revit®
-
Planary for Autodesk® AutoCAD®
-
Plan Match for Autodesk® Revit®
-
- Articles coming soon
-
-
Account Management
-
Changelog
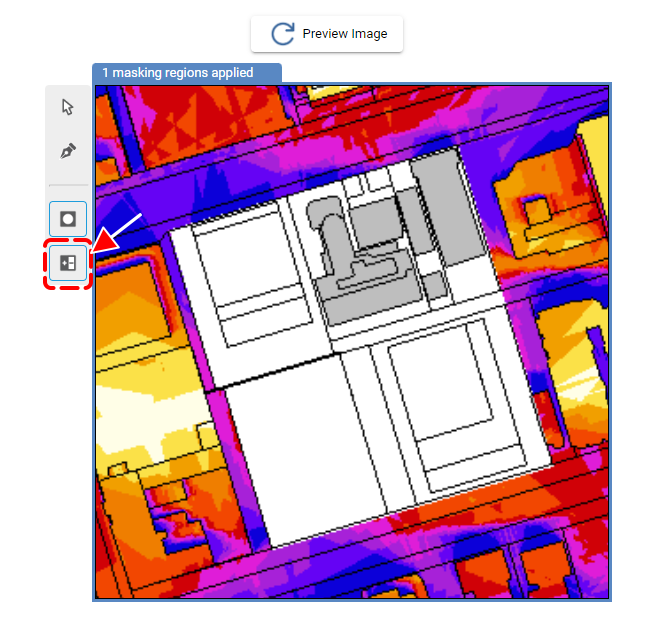
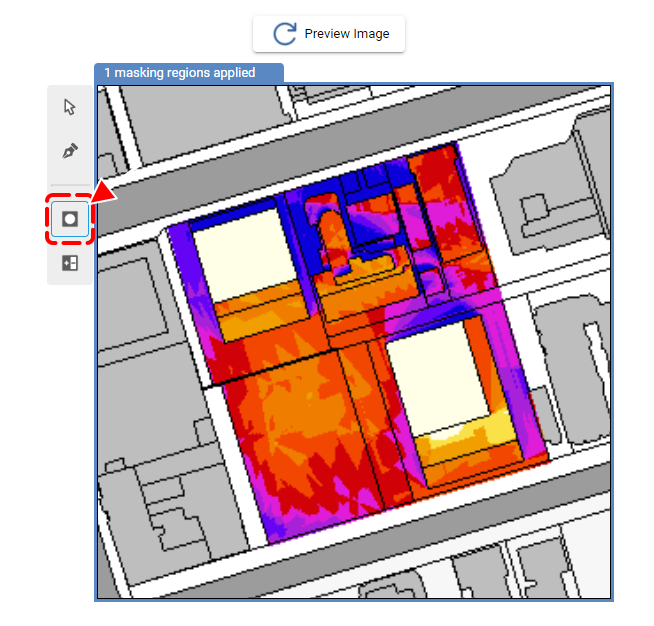
Masking Tool
(available from version 2.3.3)
Located next to the preview window, the Masking Tool allows you to draw custom shapes to hide or reveal specific areas in your sun and shadow analysis. This helps create cleaner visuals and lets you focus on the areas that matter most.
The mask is especially useful when isolating areas for focused study, such as:
- Highlighting specific facades in a sun-hours analysis
- Studying shadow-sensitive areas like parks, plazas, or outdoor amenities
- Evaluating zones affected by shading from nearby structures
- Analyzing landscaping areas designated for planting
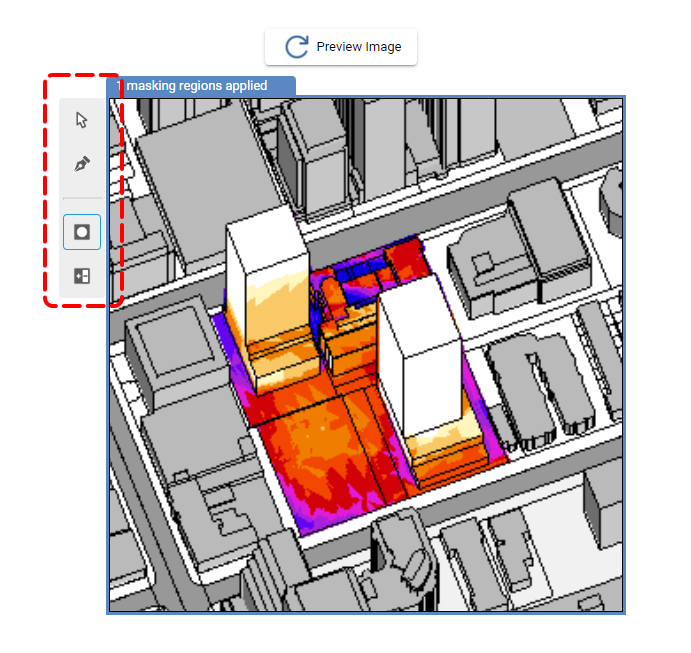
Note 1: When a mask is active, it will apply to exported images and animations.
Note 2: The masking feature does not calculate area. To select a region for area calculation, please refer to the Area Calculation article.
Creating a Mask
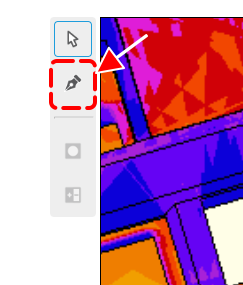
1. Draw a polygon using the Pen tool
Click the Pen tool and draw a polygon on the preview image by clicking to place points.
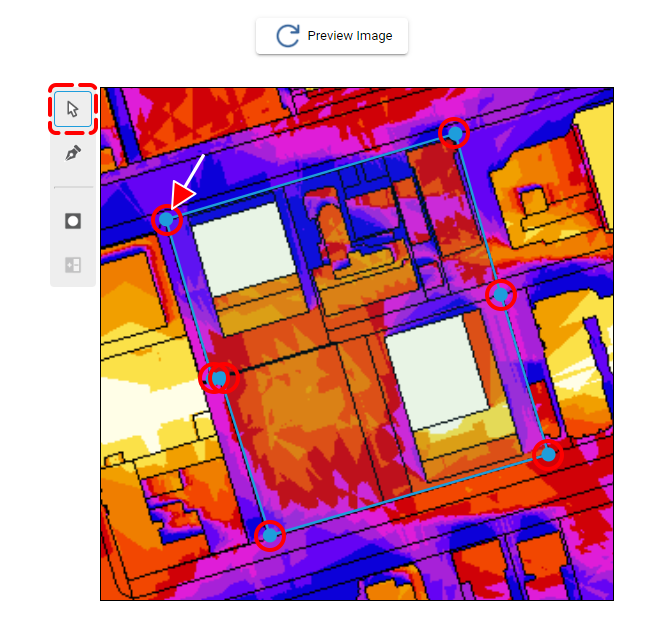
2. Edit or delete the mask
Use the Selection tool to move points or delete the mask shape.
3. Activate the Mask
- Click Apply to activate the mask.
- Click Apply again to disable the mask and return to full-scene analysis.
To invert the masked area, click Invert Mask.